


I spent ages trawling the internet for advice for old wooden floors, and eventually found some. Hopefully this will help if you’re looking as well. Most advice I found related to Victorian floorboards and polishing them so they’re smooth and shiny. I didn’t want that at all for my seventeenth century elm boards, so this it what I did.
The whole thing began just a few weeks after we moved in last year, when I “accidentally” pulled up a corner of the carpet in the living room and completely by accident ripped apart a piece of hardboard that had been nailed over the top. I had no idea what to expect underneath, but I couldn’t have dreamed for nicer flooring.
I only assume they’re the original elm boards because when the previous owner came in for his post, that’s what he said; and so did the builder who came in to give us a quote. The magazines and books I’ve read would concur that this is what most floors were made of in the early 17th century (which is when we’ve been told that part of the house was built). Each board is exactly 13 inches wide.

The floor
The best advice I found, which I followed was this: First of all (well actually first of all I had to crawl around the floor pulling out a hundred nails that had held down the hardboard, but after that,) I washed the boards with warm water with a bit of ecover washing up liquid in small sections using a washing up brush, and drying them afterwards as best I could with old cloths.
Then I used natural beeswax to give a bit of protection from stains, and also it is supposed to treat the wood. To be honest, although I finished a massive tin of wax, I need to do more as my dog’s slobber chops leave marks still. The marks fade, but even so. And it’s as simple as that. I didn’t want to sand them to ruin their aged look and I didn’t want to stain them a different colour either. They look lovely how they are.
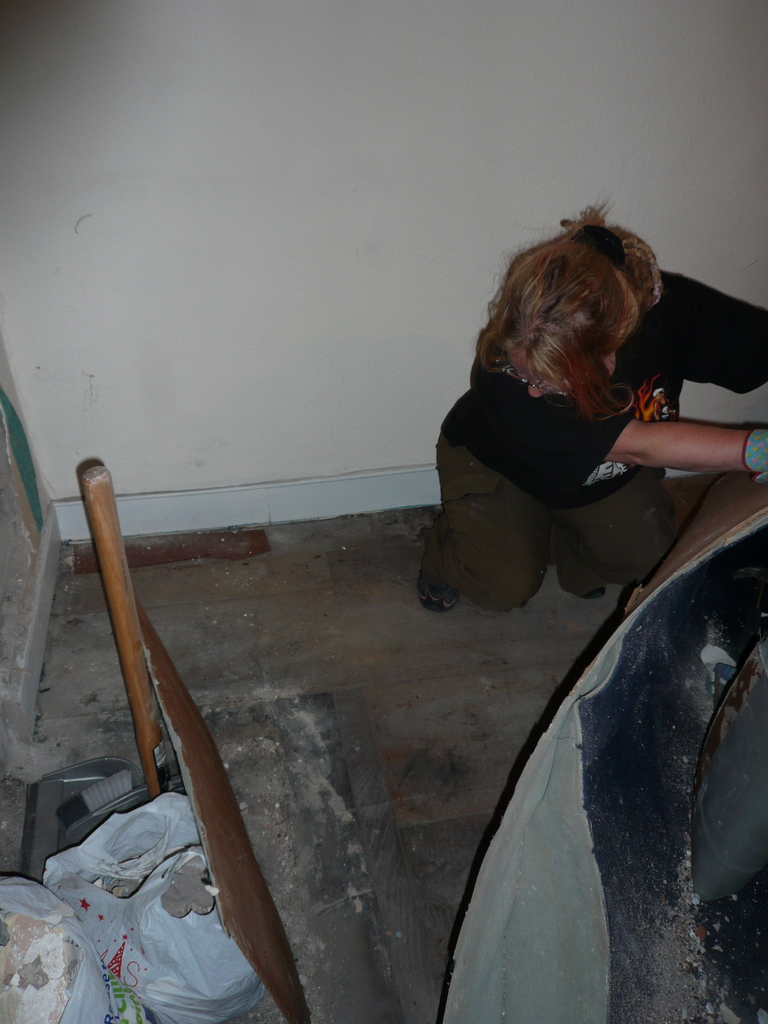
As you can see from the photo, the boards are by no means perfect. There are some massive holes, especially at the

The holes in the floor
bottom of the stairs. Where the wood has rotted away, new bits of chipboard has been a replacement, and in some places, some kind of thick black tar was used to glue down the hardboard. This was so sticky, our solution was to sweep loads of dust (not difficult to find) onto it until it stopped being sticky! The other problem is that in the house’s recent history, the stairs were opened up to be part of the room. This suits us too as we fit in a 2 seater sofa underneath them, but obviously, they were once walled off. So under the stairs there is a whole row of modern pine planks which we will have to do something about.
Hopefully, soon we’ll be able to afford to get in someone who specialises in restoring floors. Luckily up in the roof there is matching floorboards, which we should be able to use in the living room where we need to. Though recently I saw the price of identical boards at Wells reclamation yard. It’s almost tempting to sell the whole floor, replace with something else and pocket the profit!

