


This was the biggest surprise Christmas present I’ve had! I didn’t even know about this lens, so I was amazed that not only it exists, but it fits my little mirrorless micro four thirds camera, the Panasonic GM1! One of my favourite photographers is Emily Soto – I adore the soft focus effects of her portraits, but without the equipment, I’ve had to try and emulate the style in post-processing, which I haven’t had the time yet to learn properly. Now, I have a lens that does it for me, and even better, there are three lenses in one!….

Lensbaby Trio 28 Review
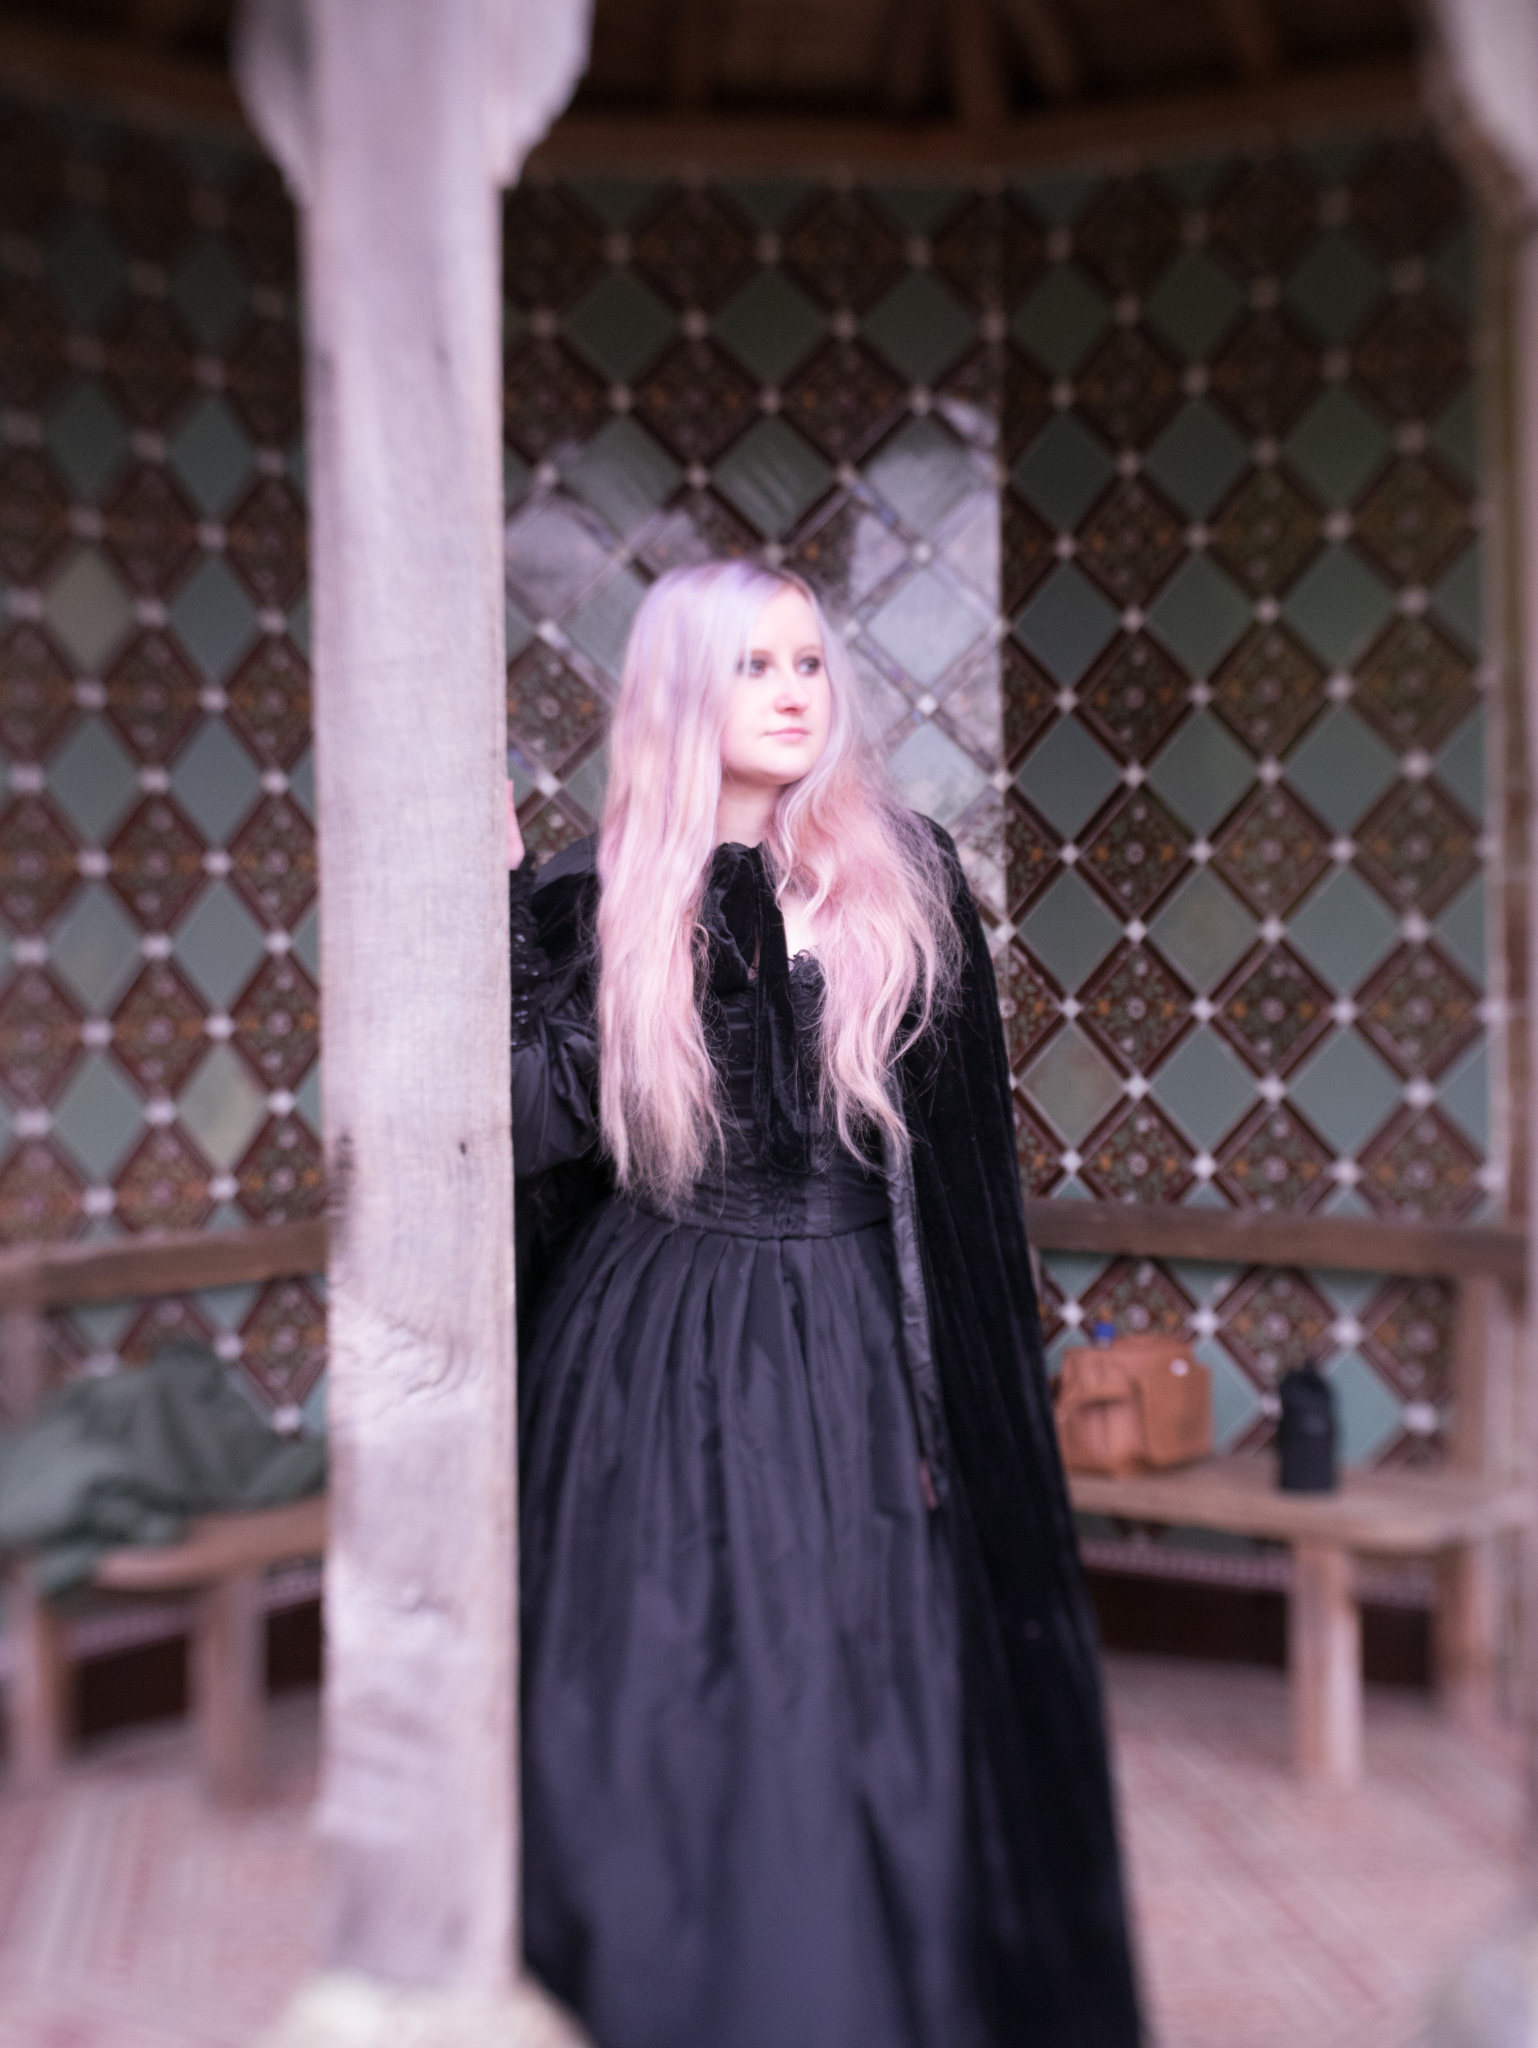
Yes, I’ll agree, it does look a little silly on my tiny camera, but it isn’t actually that much bigger than my fixed 20mm pancake lens, and not much heavier either. There are three lenses to choose from, each based on lensbaby proper lenses; the only difference being there is a fixed aperture of f3.5 on this one, and you turn it round with a satisfying click, to pick which one you want to use. Choose between Sweet, Twist or Velvet. When family had gone home and I had chance to try out my new lens; we had a trip out to National Trust property, Tyntesfield Manor, near Bristol. (If you’d like to see the vlog of the day, please take a look at my You Tube channel.) Here are some comparisons:

Lensbaby Sweet

Lensbaby Twist

Lensbaby Velvet
To use the lens, you need to go into the menu settings and turn on ‘Shoot without lens’. It’s a manual focus lens, so obviously you need the manual focus setting and I find the focus peaking feature essential, particularly as there’s no view-finder on my camera, so when the screen is dark or glarey, I completely rely on the little green dots to be sure the focus is where I want it to be. I’ll be honest, I almost always keep auto-focus on usually, so a special-effect lens is probably not the easiest transition to manual focus.
Sweet

Twist

Velvet
I find the Sweet and the Twist settings easiest to use as it’s pretty straightforward to focus your subject in the centre of the frame. However, as you can see above, I don’t think I quite got the focussing correct on the velvet setting here. Although at the same distance from the subject as the other two settings, I would always have to adjust the focus slightly for Velvet. Also, as it’s such a soft-focus lens, my focus peaking struggled with it too. So with Twist, for example, I’d have lots of green bounding dots in the centre, but with Velvet, there are barely a couple so you have to rely on the eye more.
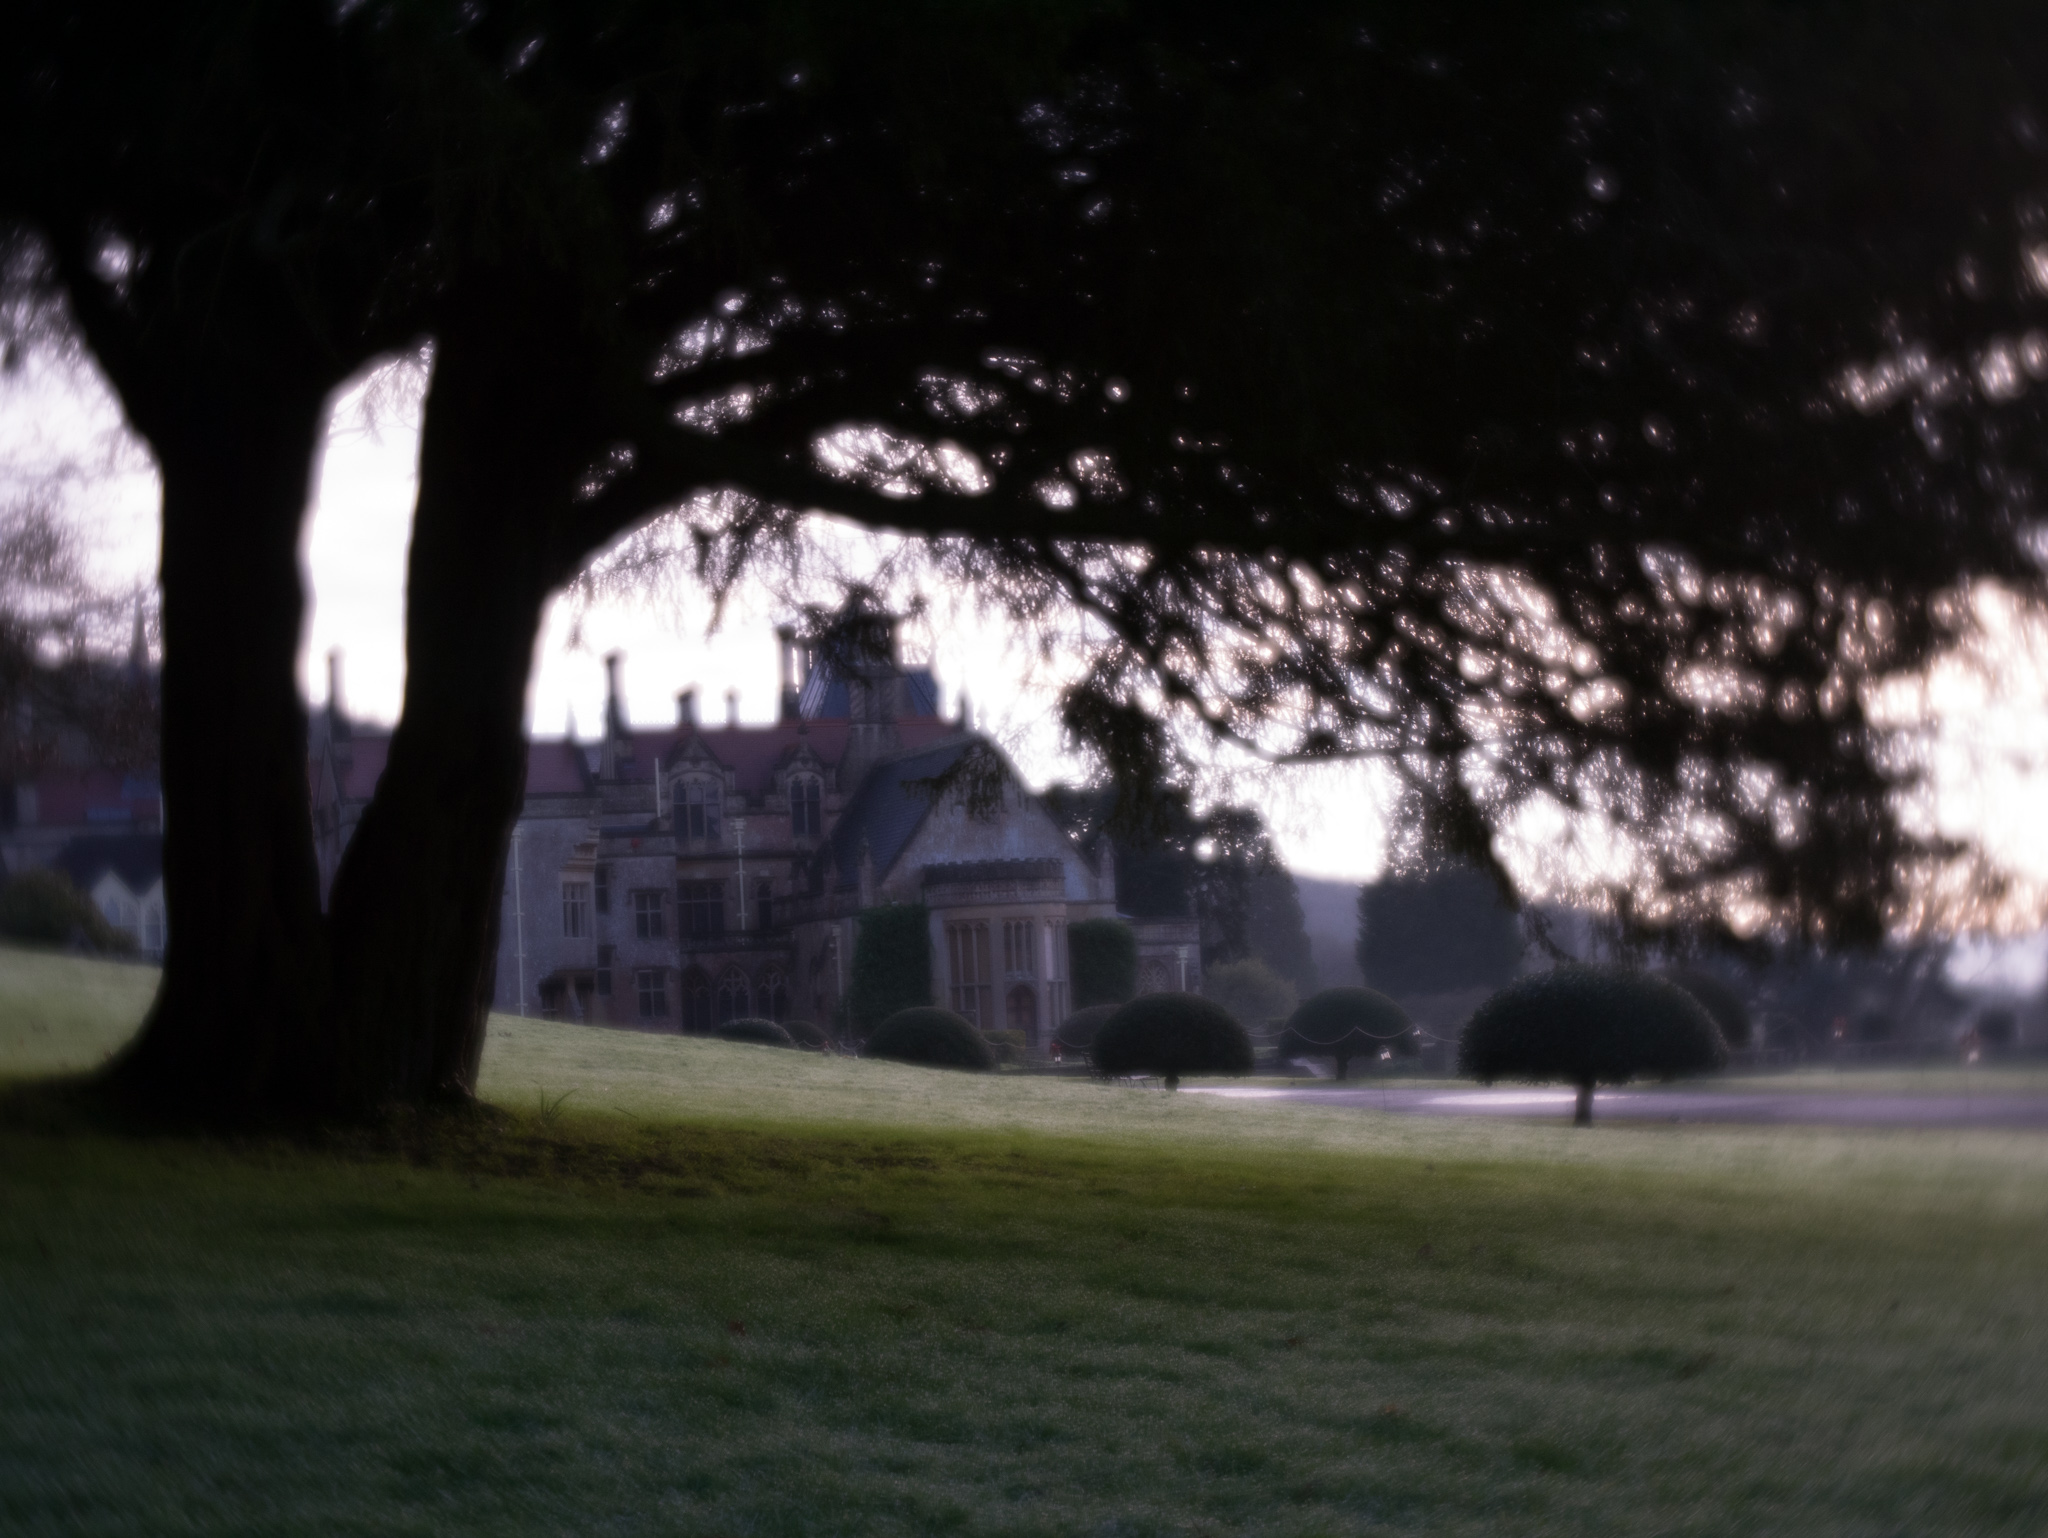
Sweet or Twist
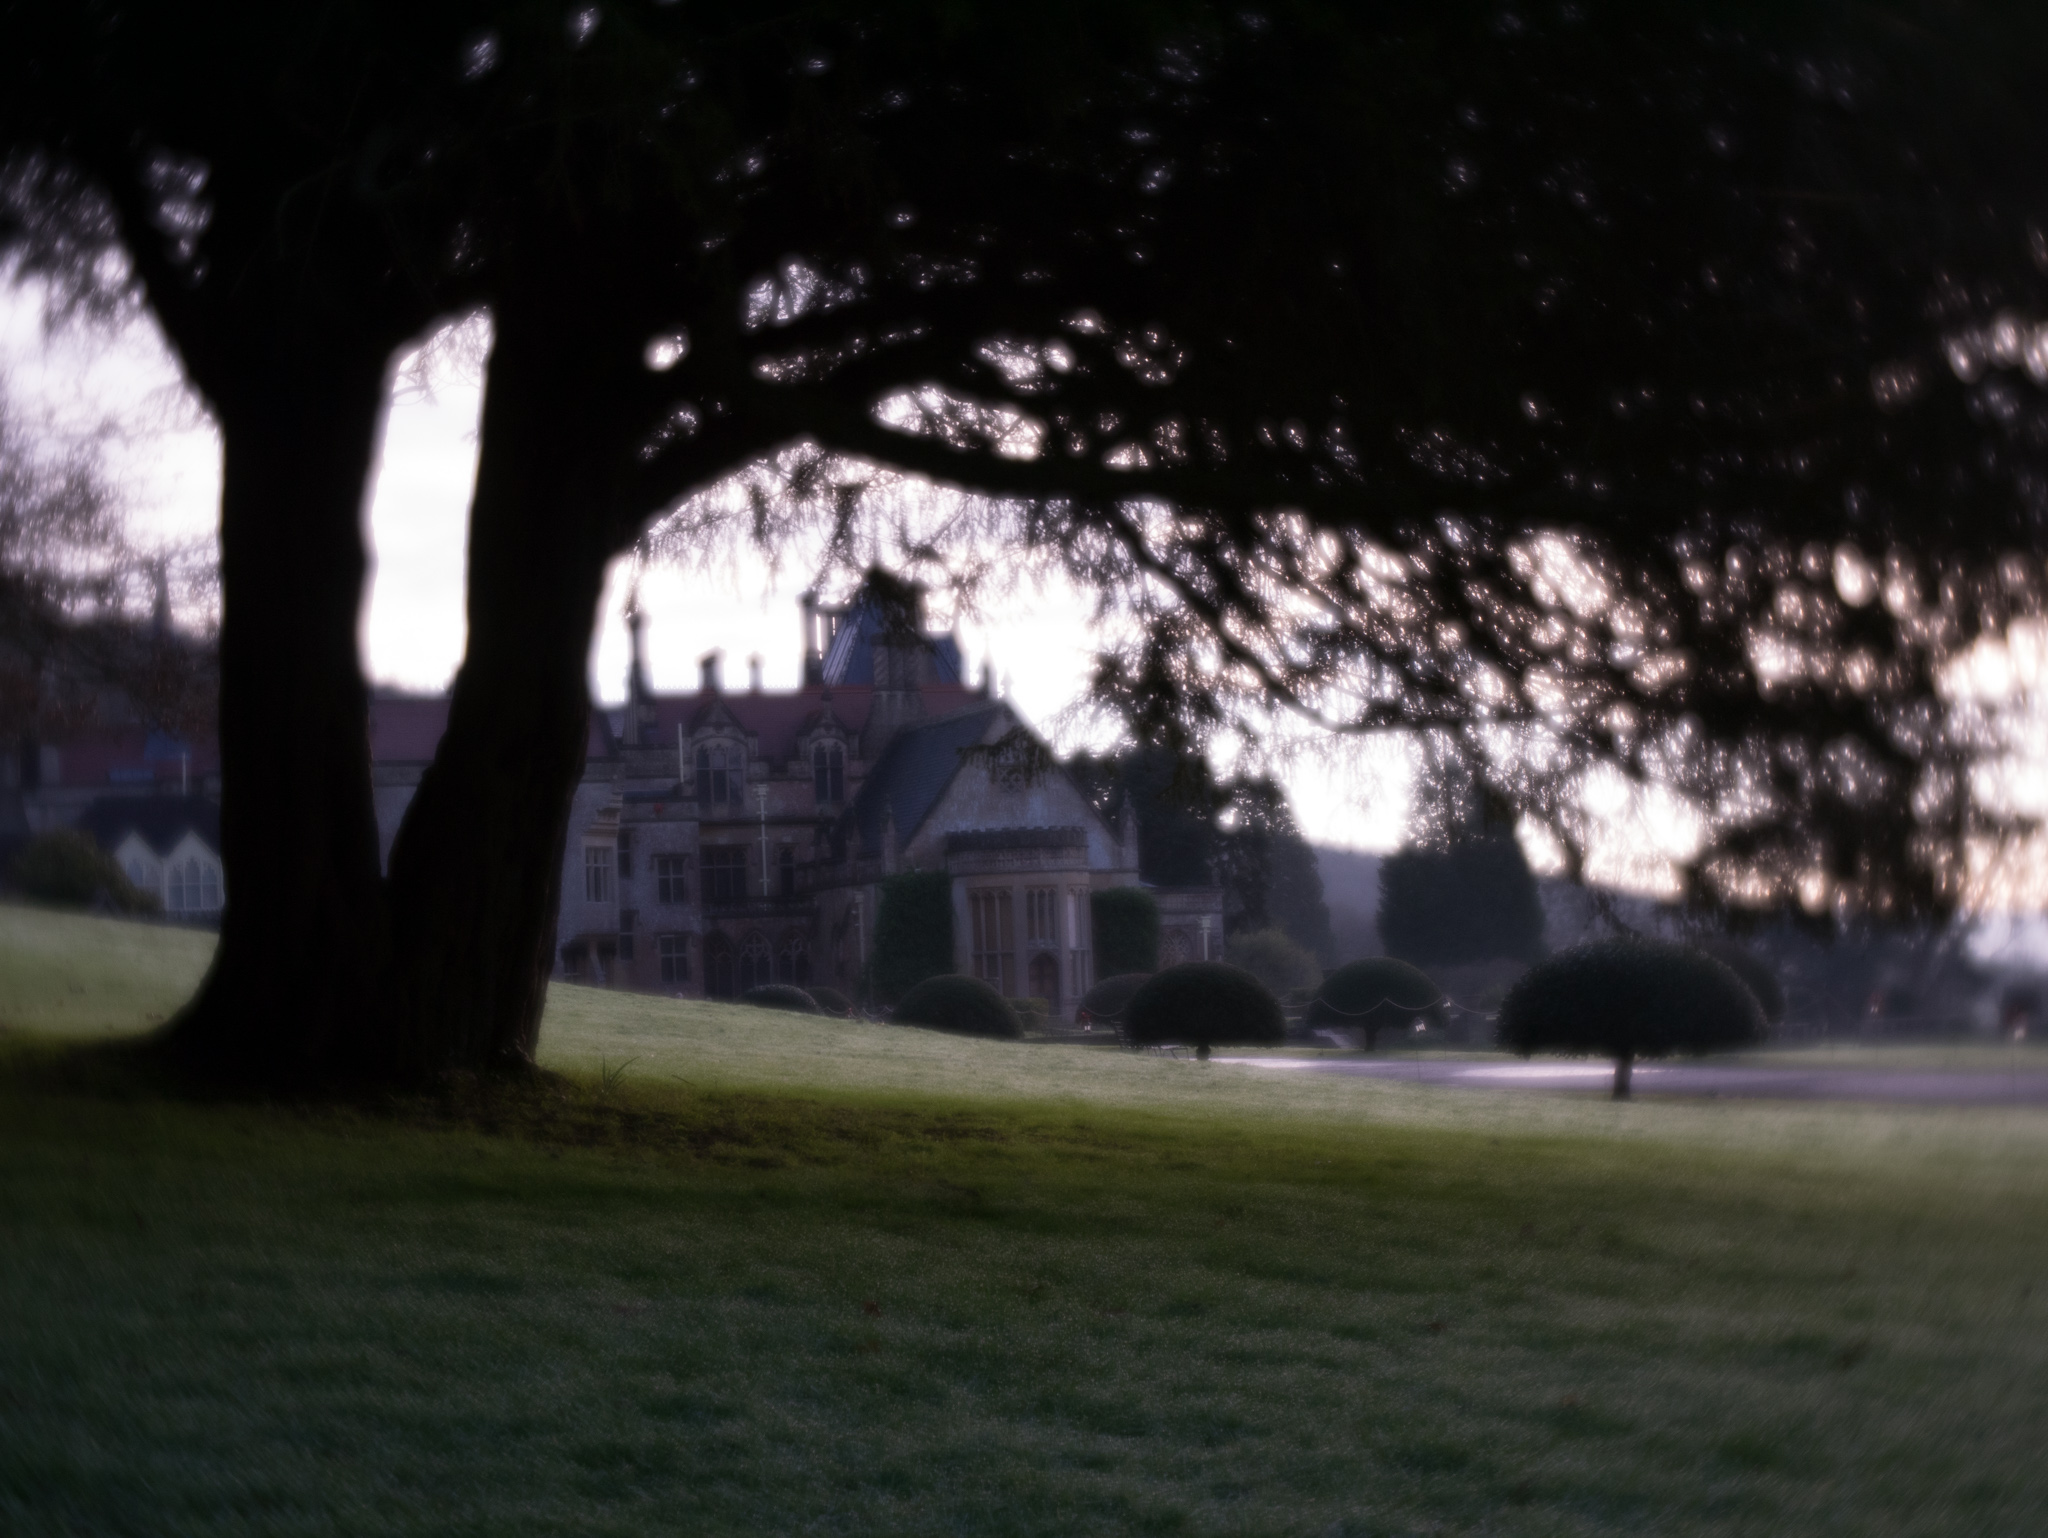
Twist or Sweet
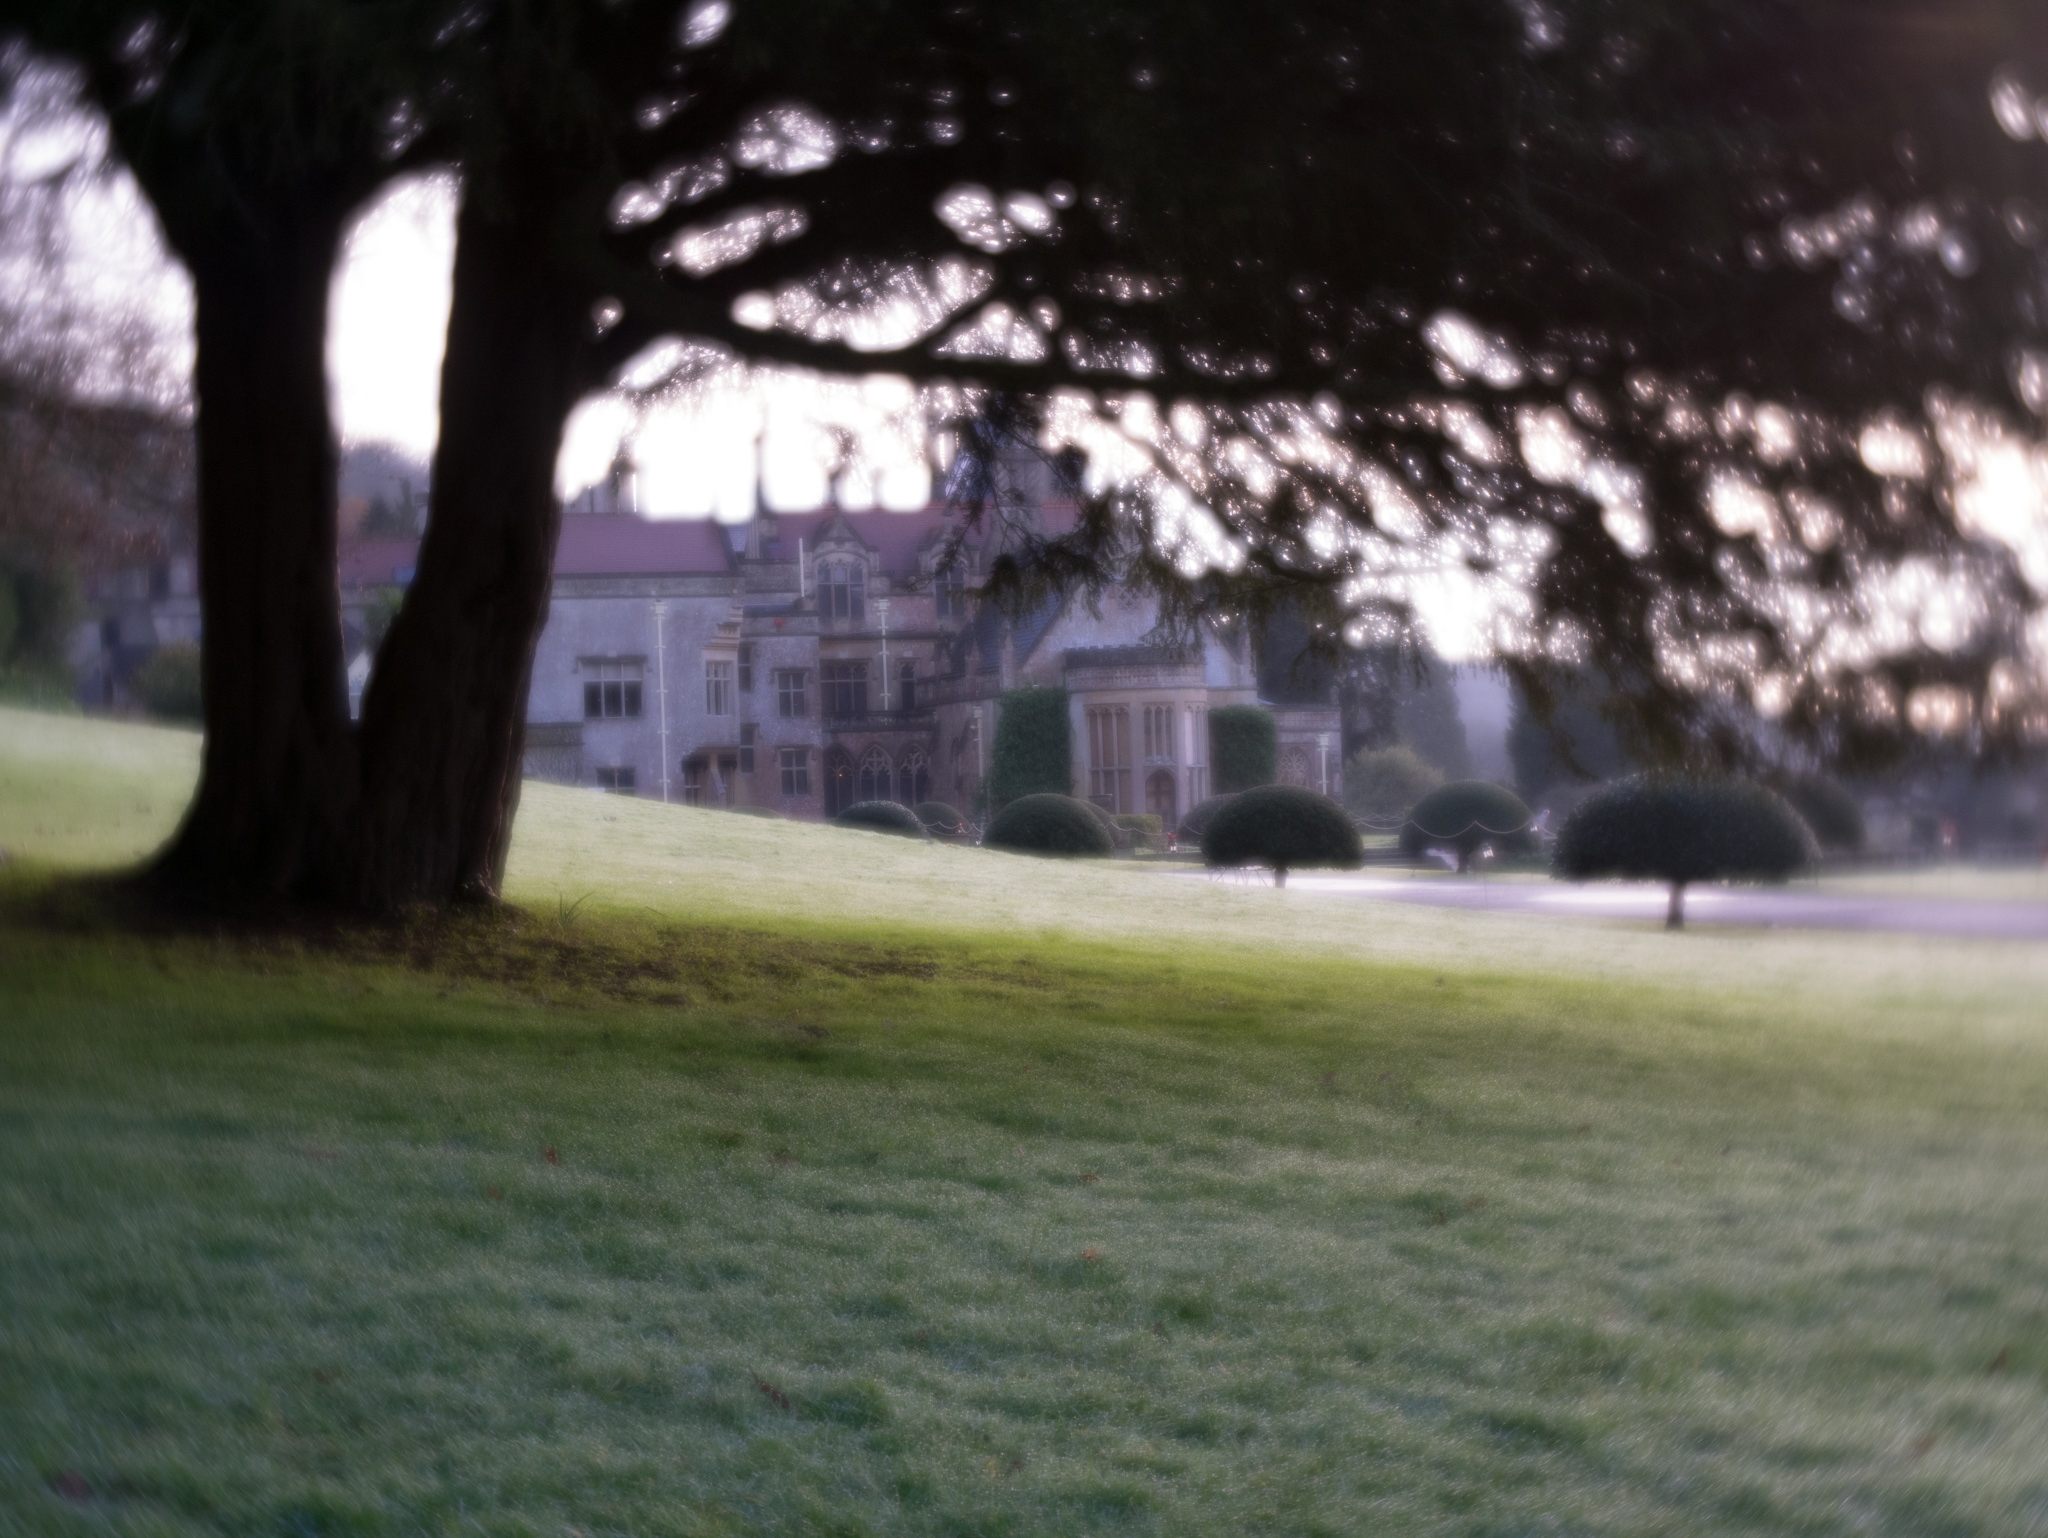
Velvet
As you can see, this particular subject is not really suited for the Lensbaby trio special effect lens. I had the focus set to infinity, but the house doesn’t look in focus for any of them. Also, at this distance from the subject, I couldn’t actually tell whether the top two were at the Sweet or Twist settings. They work much better with the subject in the foreground with plenty of background to blur. The annoying thing about this is remembering that to take a portrait, you really need the face right in the centre to be sure it’s sharp, so you end up with far too much space above the head.
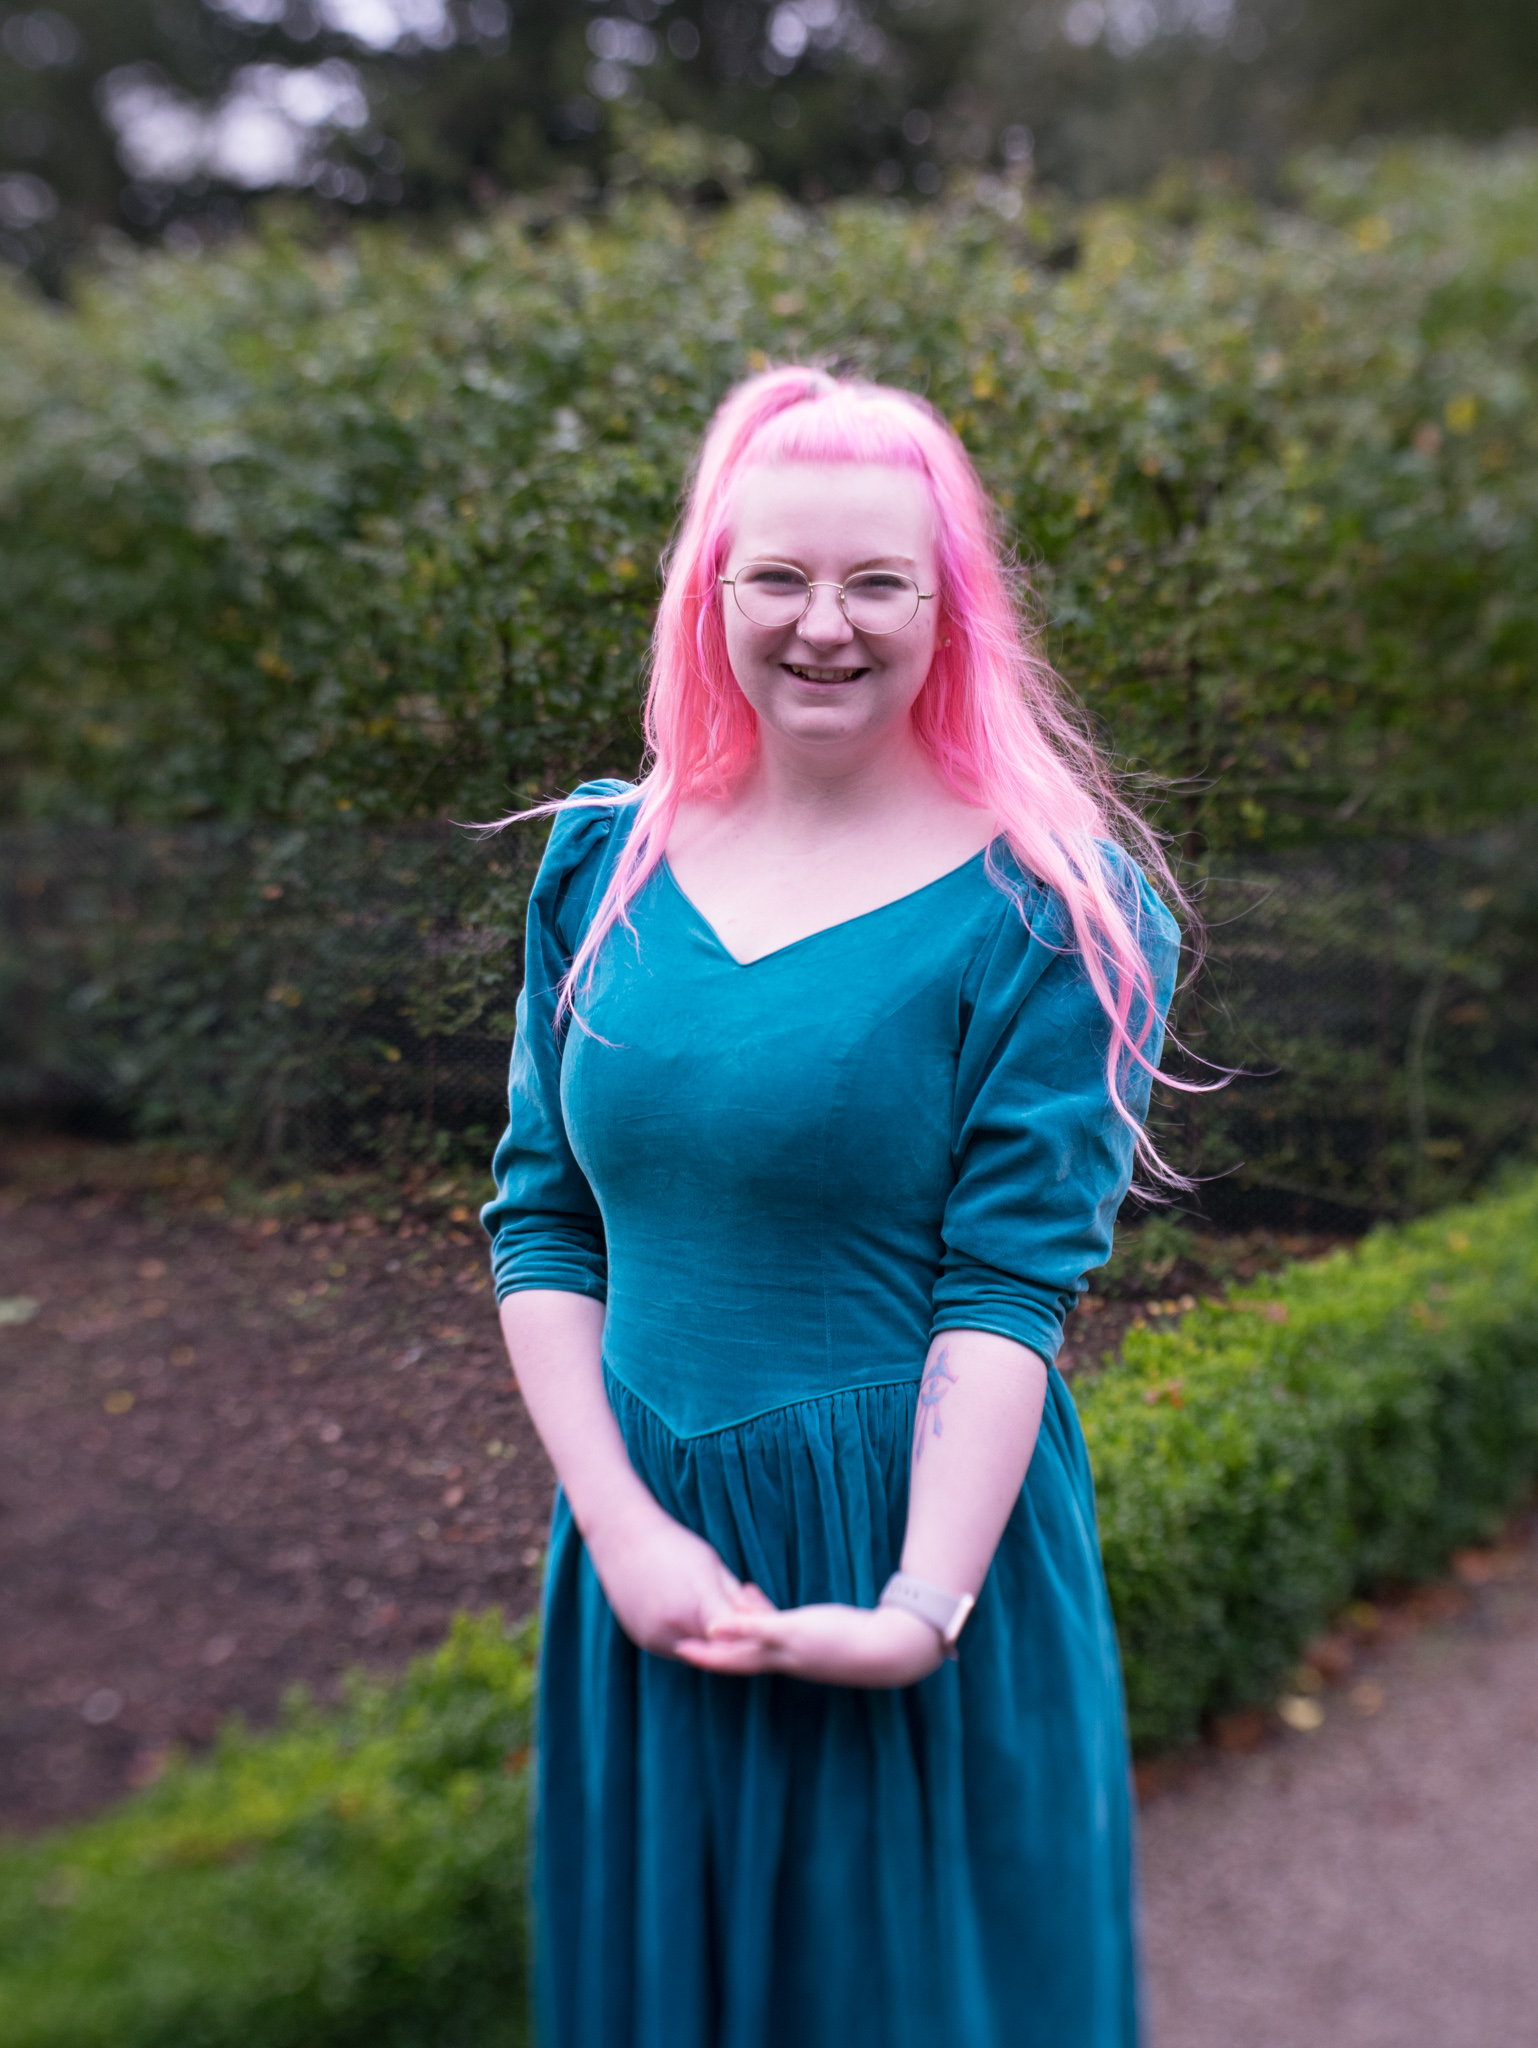
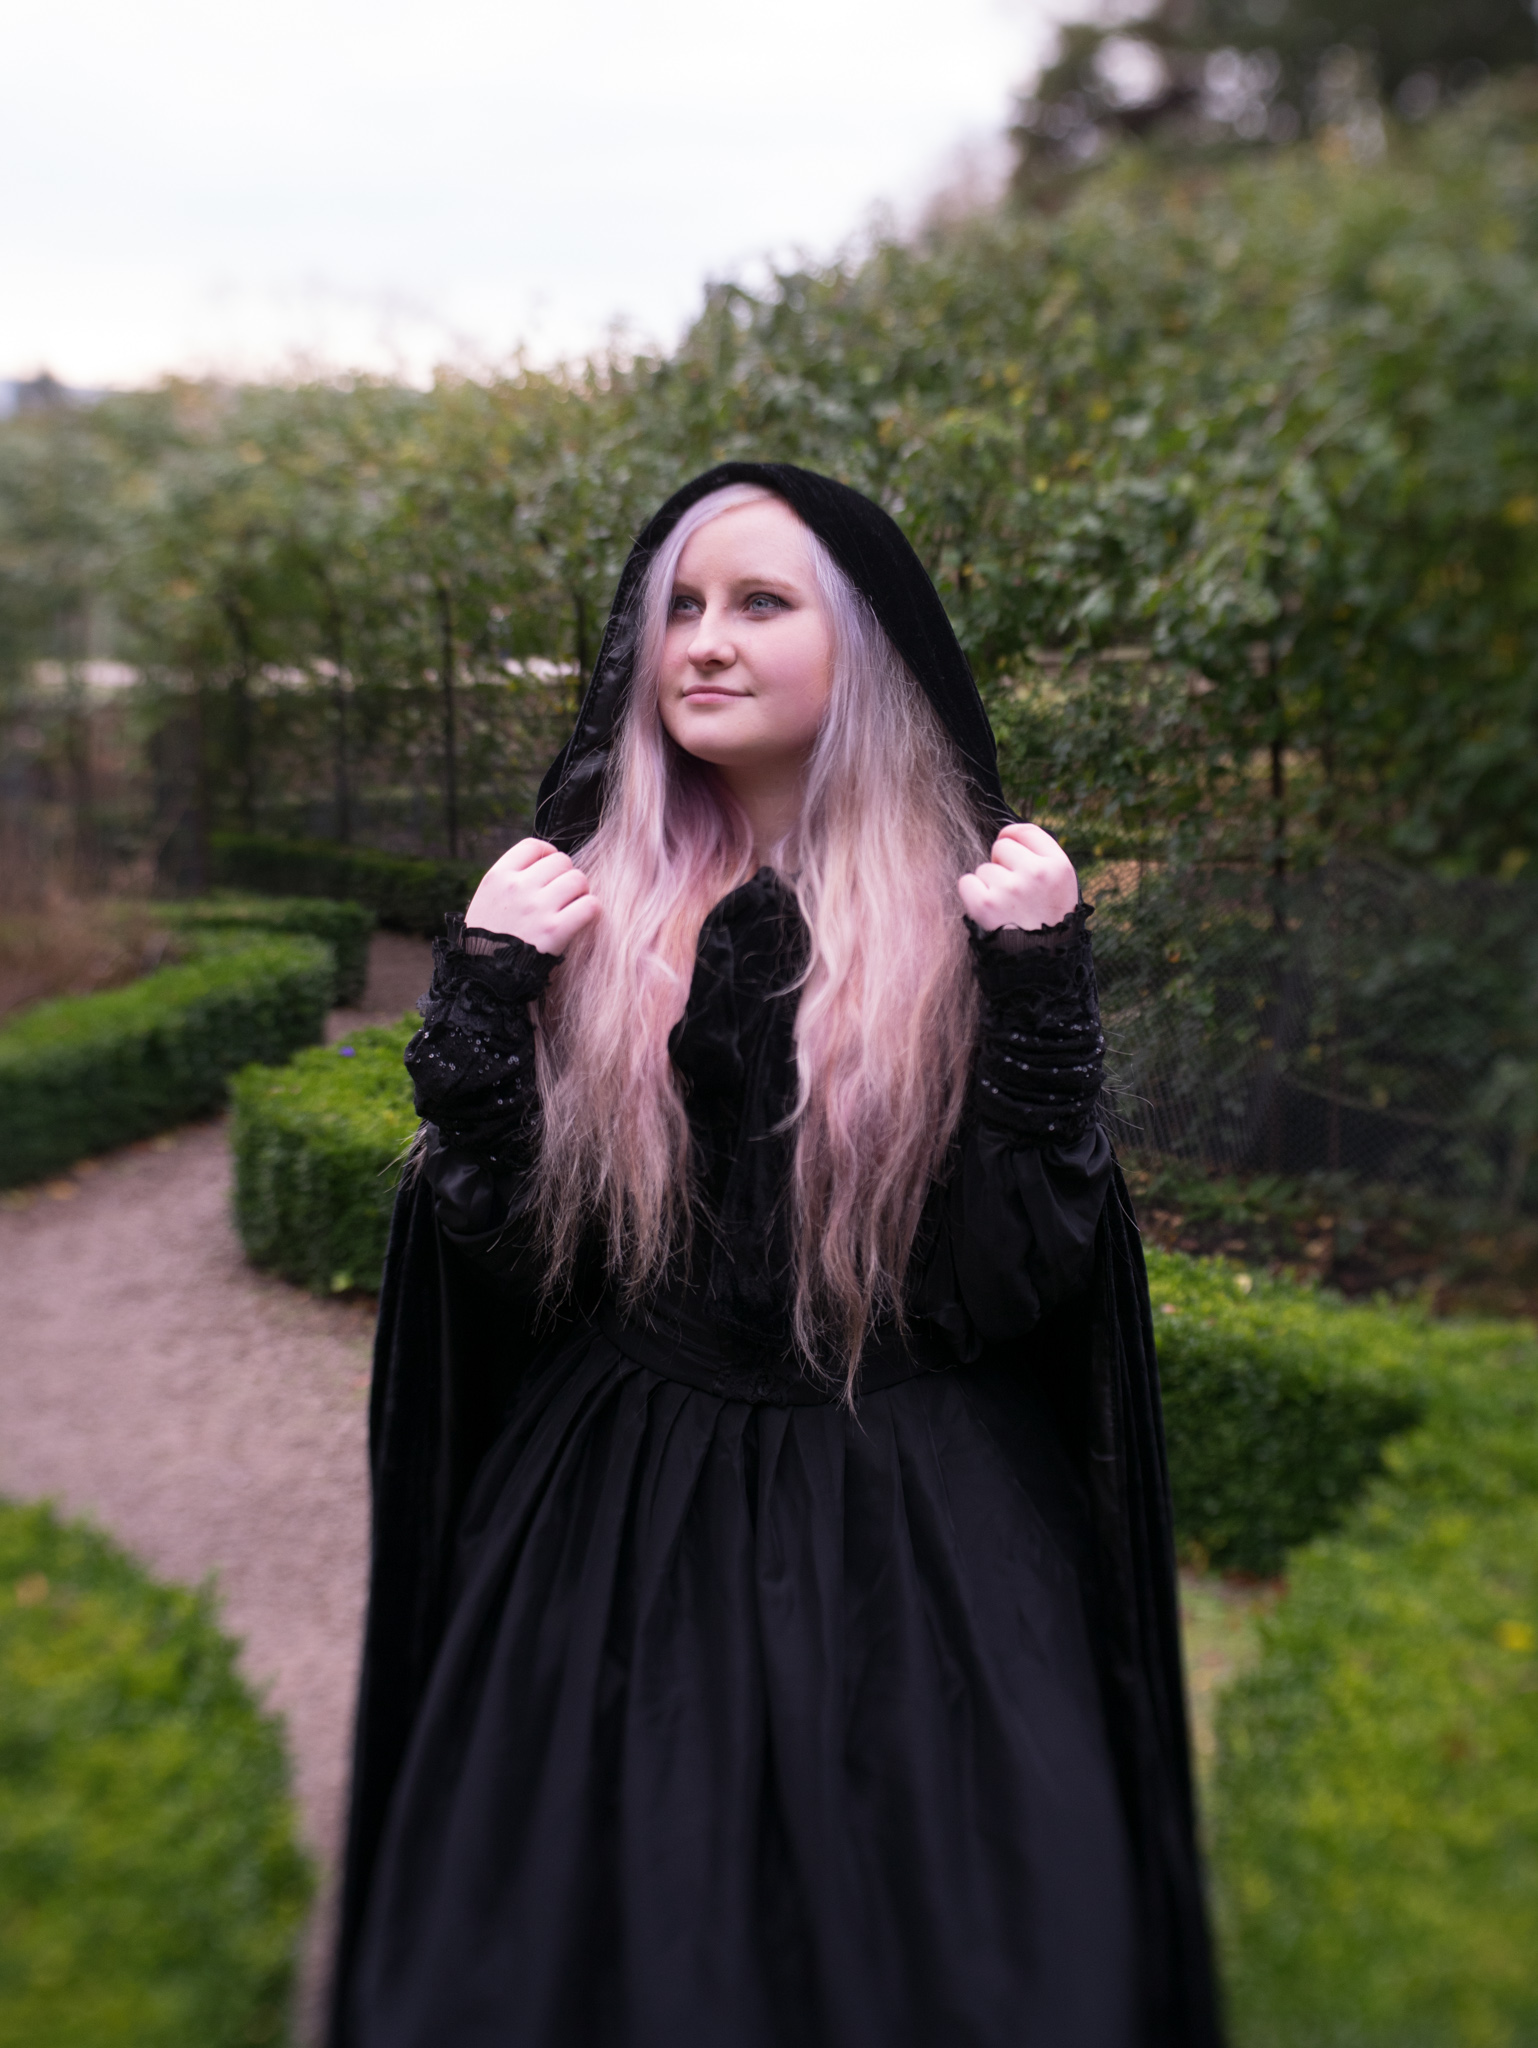
Sweet
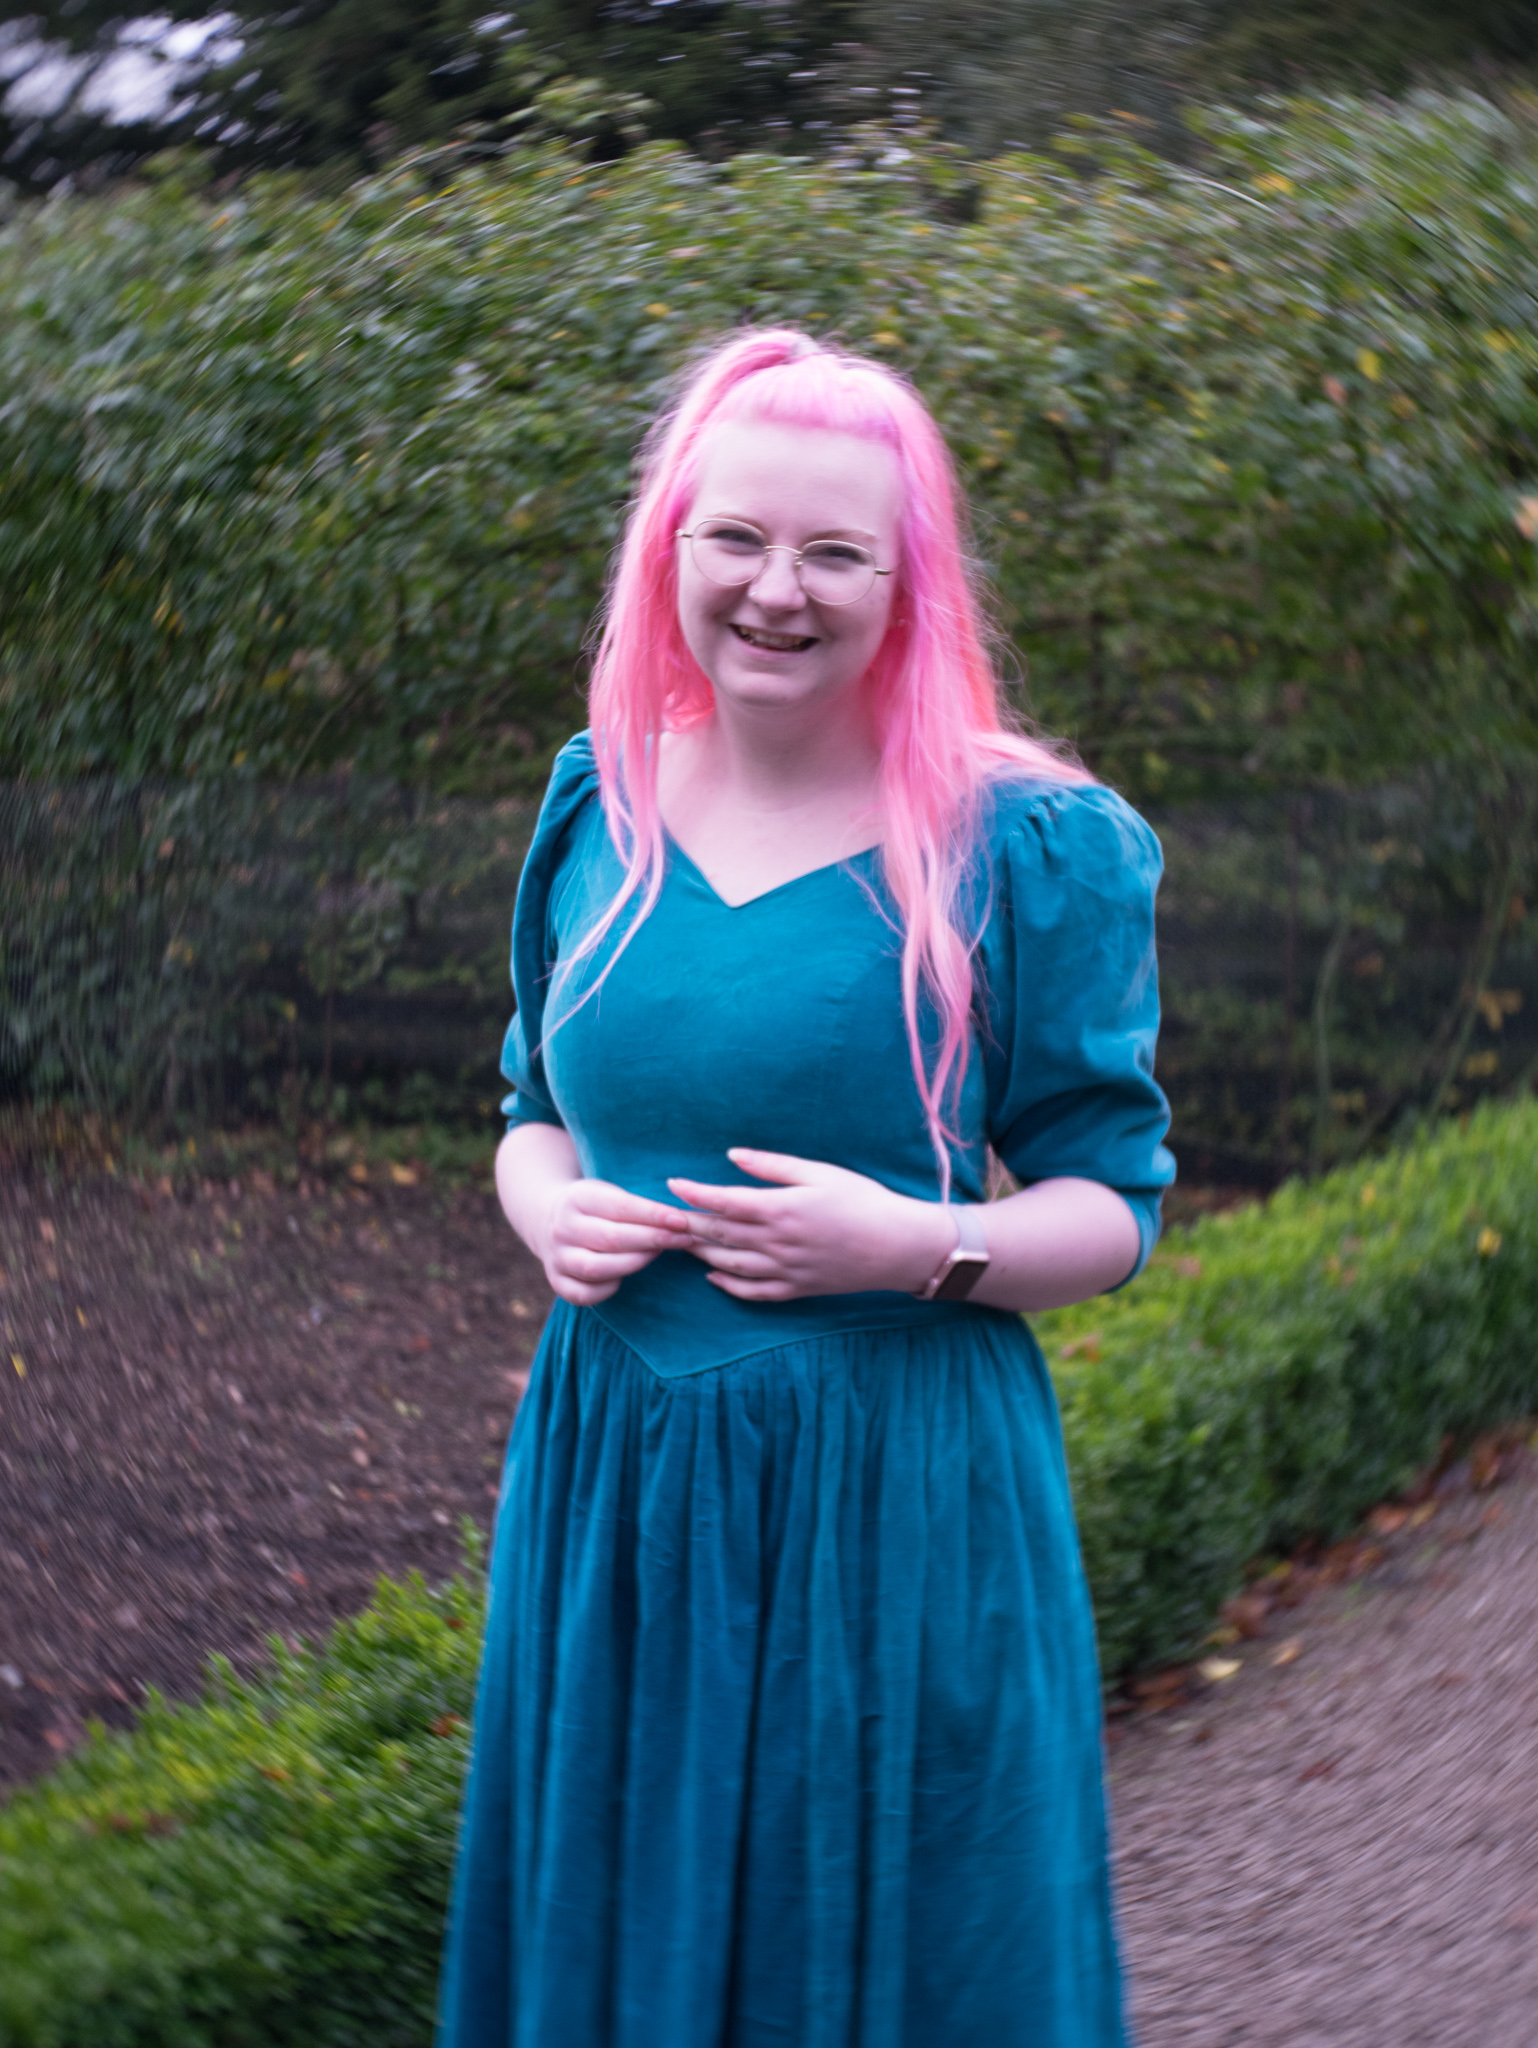
Twist
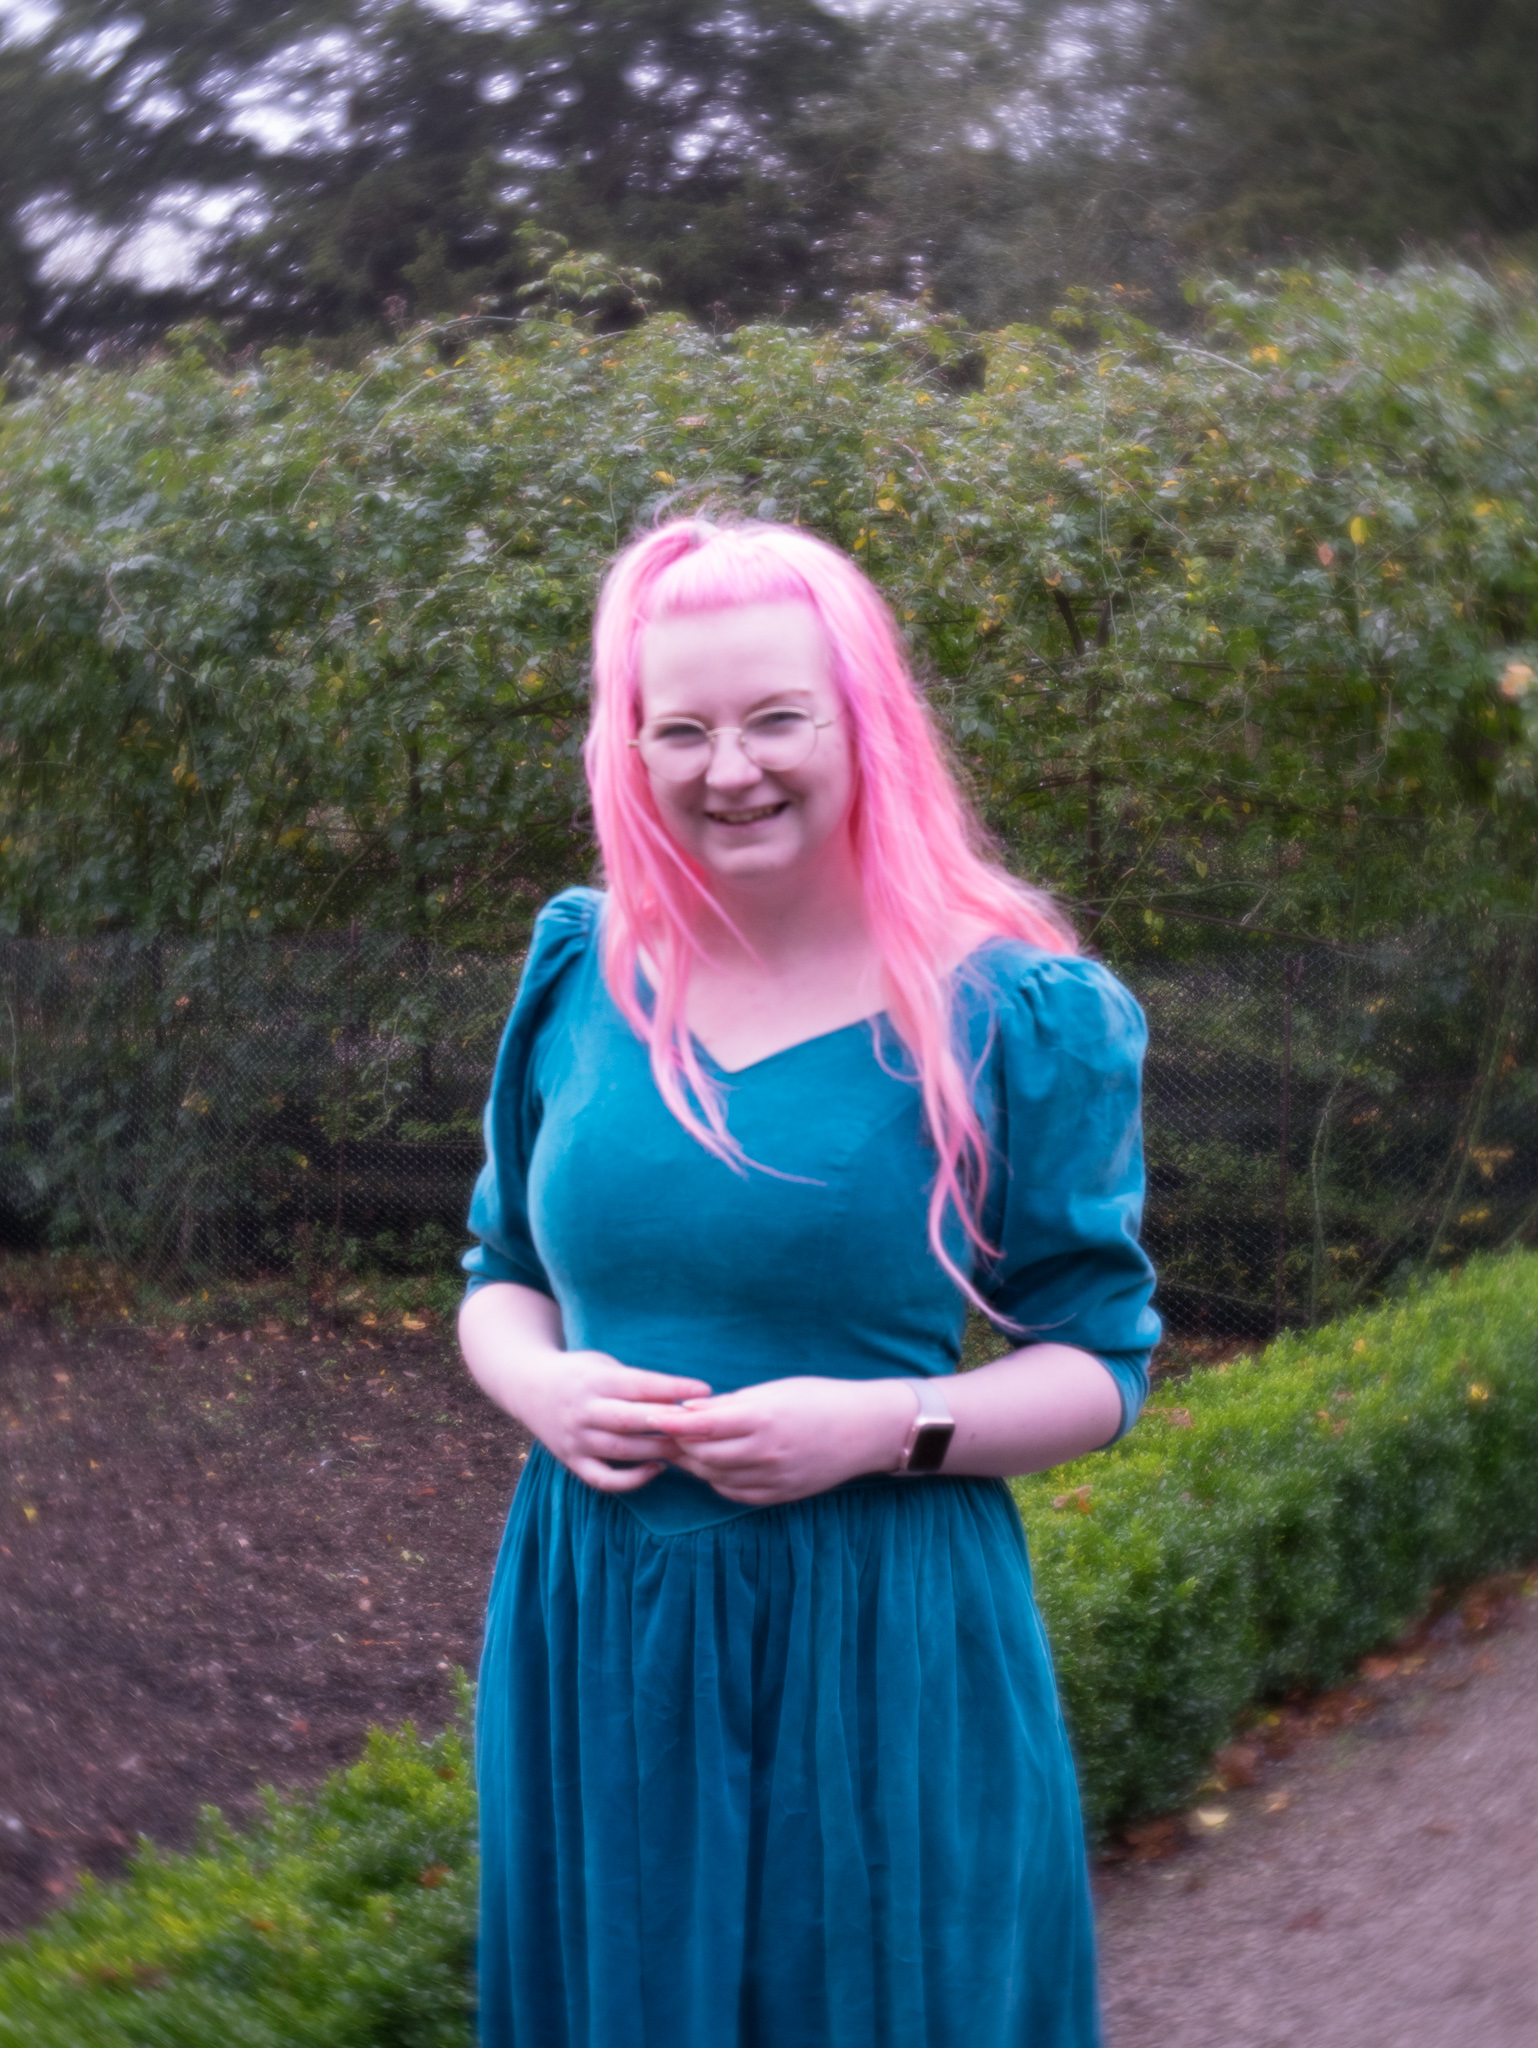
Velvet
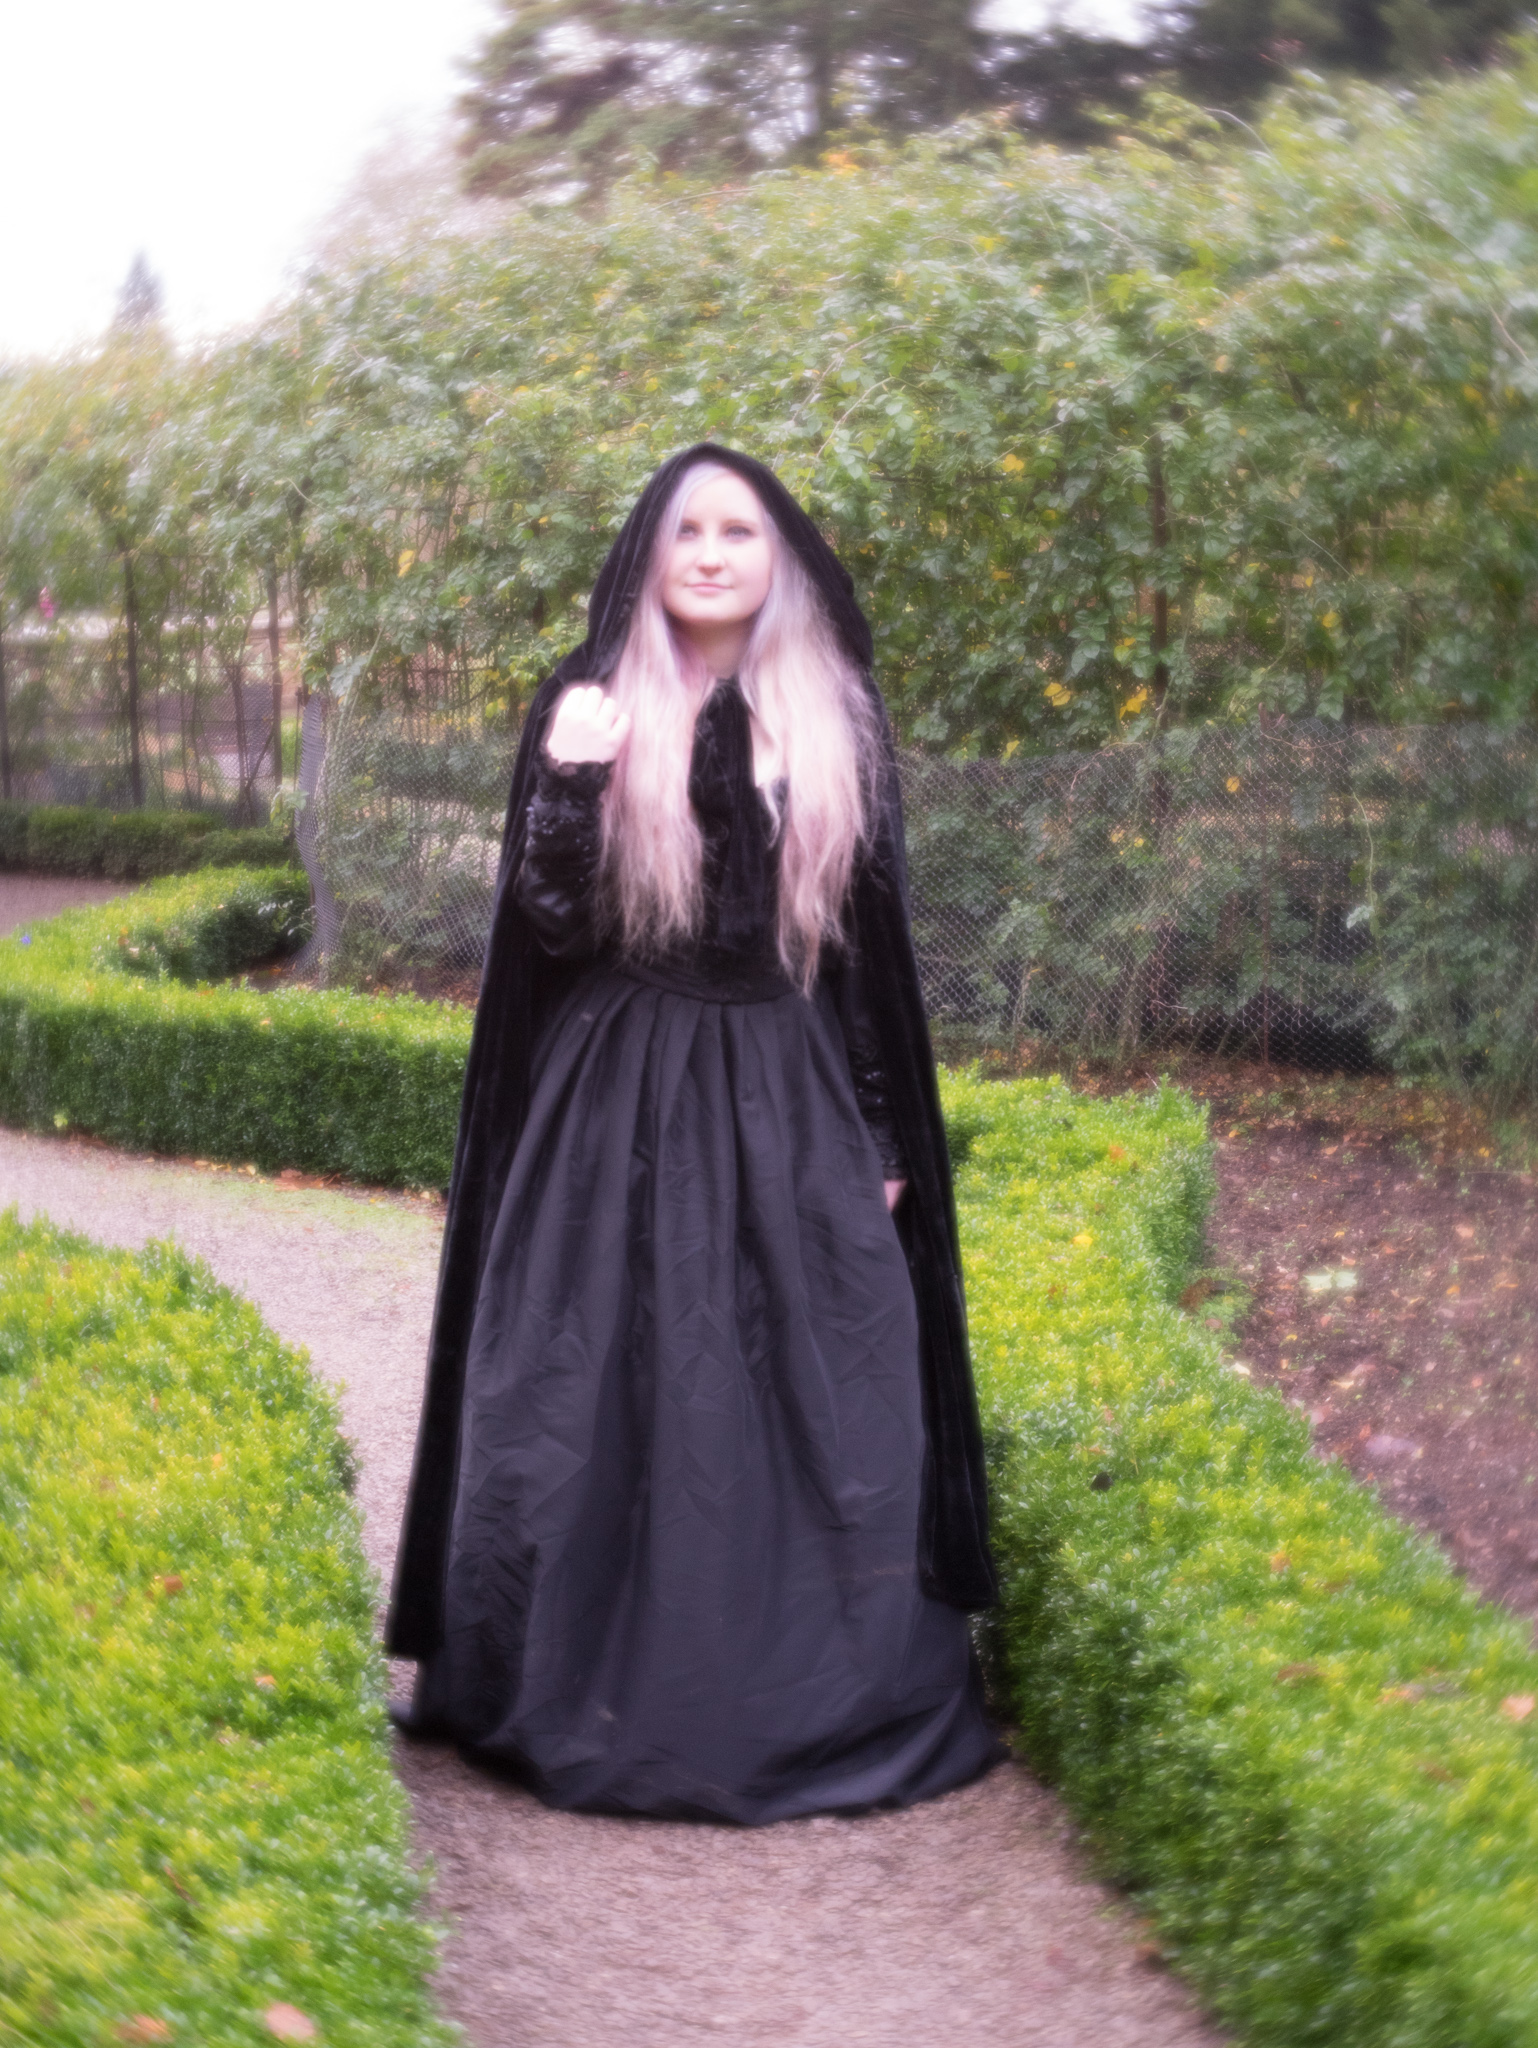
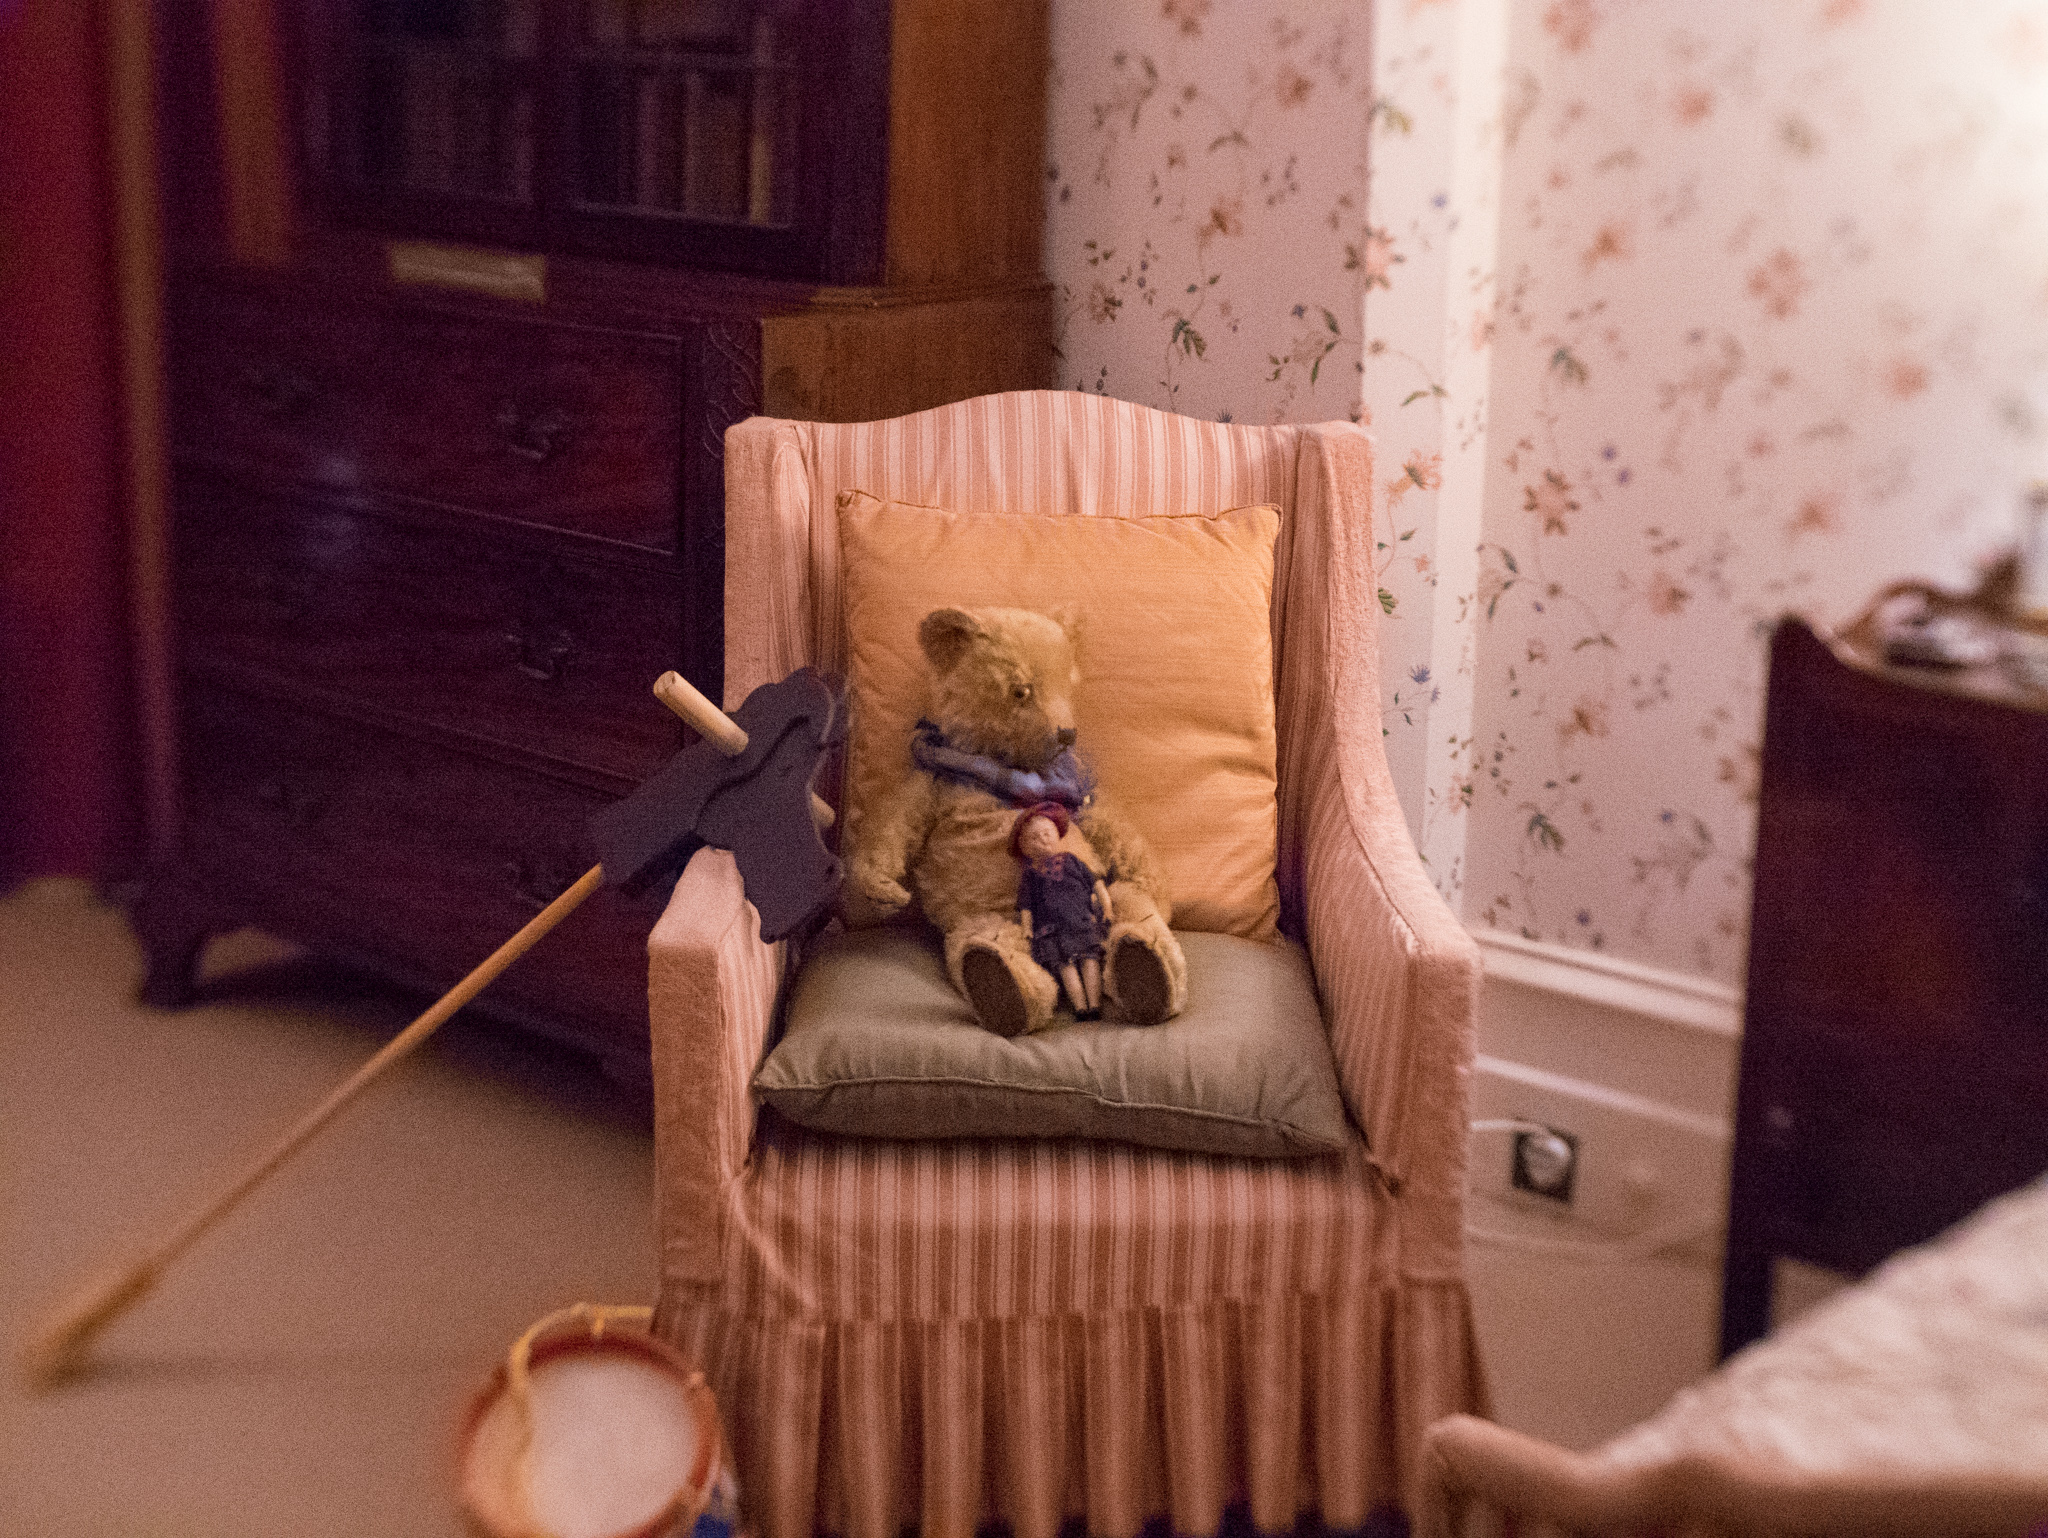
Sweet is my favourite for portraits, as the centre seems much clearer than the others. Like I said, you have to put the face in the centre though – Rain’s forehead in the top photo is falling into the blur zone. I suppose you just have to crop out the dead space afterwards. For certain occasions, I also like the Twist effect for portraits. However the Velvet is much better suited to nature – flower still lives or creating magical effects in woodland or garden landscapes. How I wish I’d had it with me when I took these photos in Cornwall!
Here’s a little slideshow of some of the other photos I took that day, and then scroll down for my conclusion.


I am so happy with this lens and would recommend it to anyone looking for a little more creativity in their photography. I don’t think it will be a forgotten fad – it suits the style I love and lean towards and will always take it with me. Also, my little Panasonic GM1 may be great for many things, but with normal lenses I simply cannot achieve that lovely bokeh that Chris can with his full frame Nikon. This lens gives me that opportunity at last, and I’m utterly delighted about that!
For Christmas, Chris asked his boss to bring the lens back from America because it was only available there at the time. Mine is obviously for the micro four thirds cameras, but there are also fittings for Fuji X and Sony E. The Uk Amazon link below is for the micro 4/3. (There is another listing on Amazon, but it doesn’t say what the fitting is, so you might need to get it shipped from America for the others.)
This was my first try with the lens and I can’t wait to have a proper photography day (when my family aren’t hanging around waiting for me) to really get to know it and learn more about how to use it best. If you’ve come to my blog for the first time today, please be sure to click the bloglovin button up there on the right or follow the RSS feed to receive notifications when I update. I’ll definitely be adding more photography blog posts using the Lensbaby Trio 28.


Meredith
January 28, 2017These lenses are so cool!
Helen
January 29, 2017Yes, I love the effects you can get, especially for portraits. 🙂