After some research, I put the Zig Kuretake Clean Color real brush watercolour brush pens on my wishlist and was lucky enough to receive a pack from my cousin for my birthday. Ever since I was a little girl I have wanted brush pens like this! I think it must have been an episode of Blue Peter when they showed an artist who decorated narrow boats with beautifully crafted swirls that inspired me to recreate the style as best I could. When I grow up I want to paint narrow boats!….
I tried buying a long thin paintbrush and using paints, but I couldn’t get the control I needed. So I bought disappointingly named ‘brush pens’ from WHSmith, which turned out to be ordinary felt tip pens. However after a recent wander around a large craft shop, I saw a selection of packs of pens which led me to hope that the product I’ve wanted actually existed.
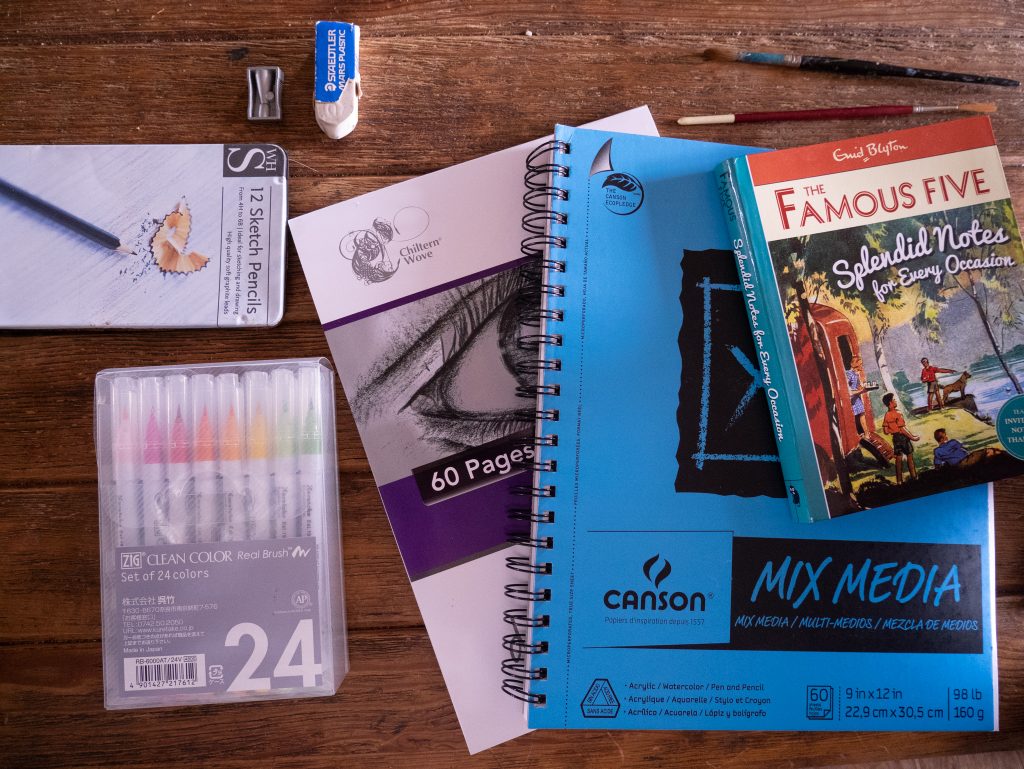
A bit of googling and reading artist blogs and reviews, I decided upon the Zig Kuretake clean color watercolour brush pens. Although I have nothing to compare them to, I’m sure I made the right choice. The nib is surprisingly small, and at first I worried that I wouldn’t be able to achieve that lovely long swirl that I was after, However I needn’t have been concerned, these brush pens are absolutely perfect! Not only can I do those swirls with ease and without running out of colour (like you always seem to with felt tips), but I also have the control I wanted to write fancy lettering with them.
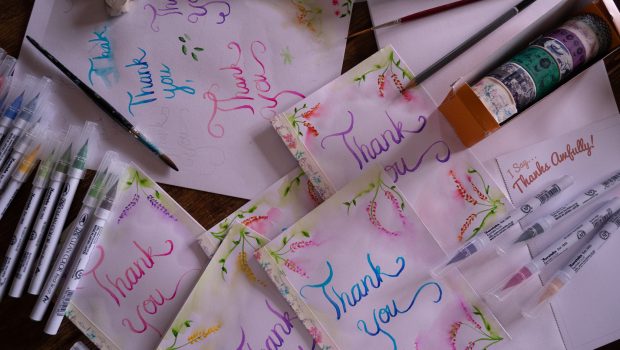
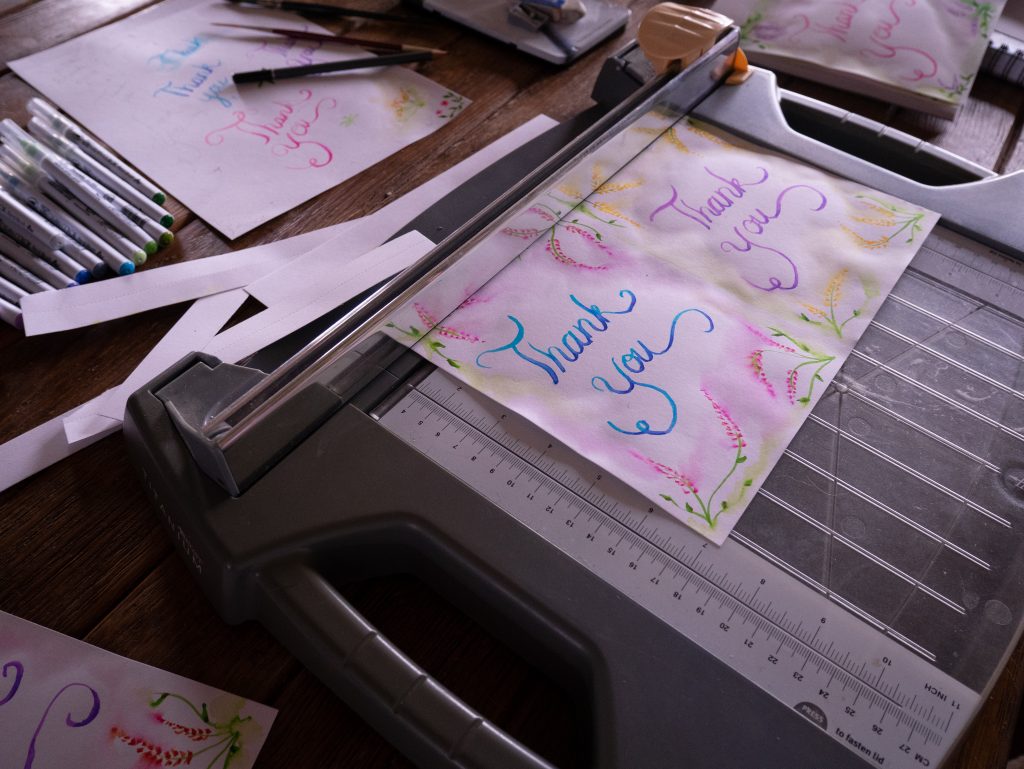
I thought a thank you card to my cousin’s family using the brush pens they gave me was a nice idea, and why not make everyone’s while I was at it?! I used Chiltern Wove 135gsm cartridge paper, and although it warped a little when I added water, I thought it did a fine job. For a more professional finish though, I would recommend watercolour paper. Although, if you’re not going to add water at all, then there’s no need.
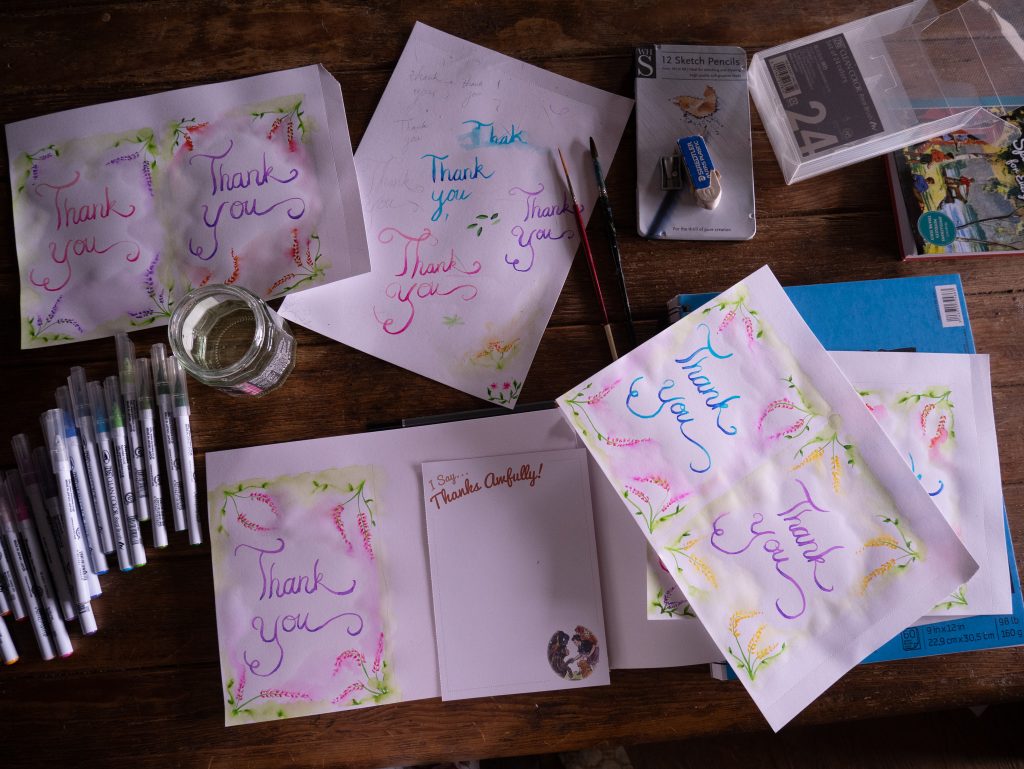
For the lettering on my thank you cards, I wrote with a pale colour, and then added a darker shade at the bottom. Then I used the aforementioned narrow paintbrush to blend it together to give a pretty ombre effect to the letters. I drew flowers in the corners of the paper, and did the same thing with two shades of green for the leaves. I felt that the white background of the card was too stark, so I added water to the flowers and blended out the colours, taking care not to touch the lettering with the paintbrush. I didn’t want those colours to blend together.
It was this blending on the lettering and the leaves that was time-consuming. I really like the effect though, so next time, I’ll try a shorter stiffer brush and see if having more control will help. I also found the leaves quite difficult to paint with these pens, as they were so small, but I think I could improve on that with practice.
To turn the drawings into thank you cards, I used a pretty washi tape that I’d bought from the Paperchase summer sale last year, to attach the back page. For this I used the tear-out pages of a book I bought in Homesense called The Famous Five Splendid Notes for Every Occasion. There were several sheets with ‘I say, thanks awfully’ written on them, and as all of my family (I think) were/are fans of (or at least brought up on) Enid Blyton, I thought this was perfect to use.
I would really recommend the Zig Kuretake brush pens. They felt lovely to use and I was able to achieve the look I was going for. If you’ve never used brush pens before, you will love these!
And here’s the video I made to go with this blog post: (Please click my face at the end to subscribe for more videos!)
I’d love to see your brush pen projects. Please add your links in the comments below. And if you liked this post or found it helpful, please link to it in your social media. Thank you! 🙂
