

Yes, yes, I know it’s not authentic; I know people in the olden days covered the walls in plaster; but I don’t care – I wanted to do the fashionable thing and expose the stone on the fireplace wall!
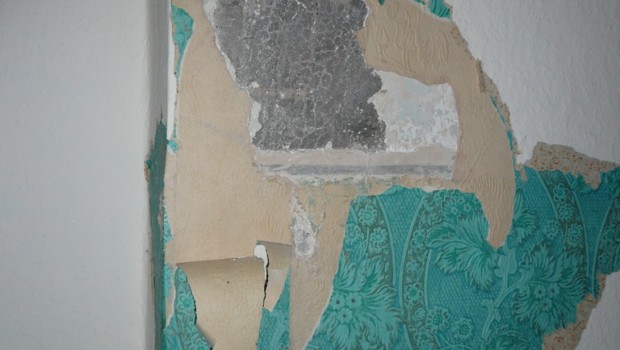
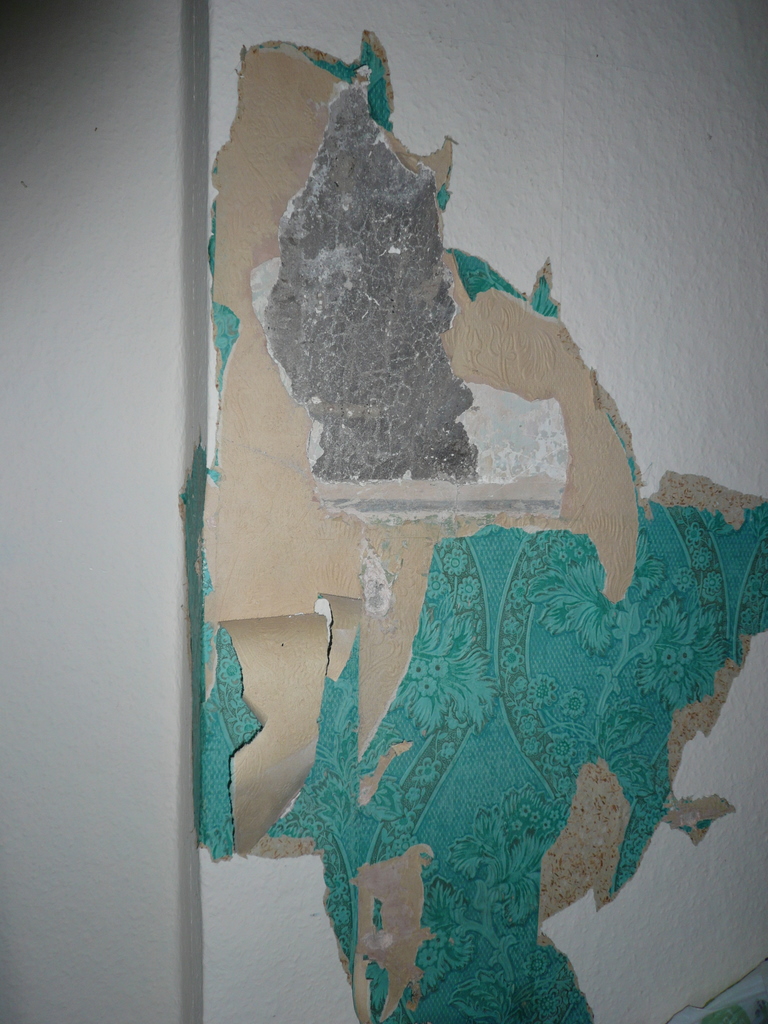
The worst thing about this job was the dust – it just got everywhere. Also, girls – make sure you wear a high neck top for this type of job otherwise your bra just becomes a good catcher for all the tiny bits of plaster. It was another job for the chisel and hammer; chipping away at the plaster. The wall was partly covered with a modern gypsum layer, which was pretty hard work, but most of it was possibly the original mud/clay/straw/horse hair plaster as that what it seemed like to me, and actually that came away fairly easily. In the photo above you can see the layers of attractive wallpaper that had to

Chipping away.
come off as well!
Once that was all off, it was a case of brushing it over and over over again until the loose bits of mortar were all off and it was mostly dust-free. I used a combination of an out-door stiff bristled broom and a dust-pan and brush brush. Then with a bucket of soapy water and the brush, I washed it. Then I sat down with my folders of back-dated Period House/Country Homes and Interiors/ Country Living and Period Living magazines, I studied other people’s stone walls to decide the look I was going for. Some people had completely flat walls by using the mortar quite a bit, with less stone on show; and some people had the mortar recessed, so the uneven stone protruded and was more of a feature. I went with the latter option.
I was a bit nervous about using lime mortar, but I didn’t really need to be; I just wore a dust mask while I mixed the powder, and kept thin rubber gloves on throughout. I’d also bought an air gun, but it was only useful for filling a few larger hole because the nozzle was too big for most of the work; and the thing itself was large and awkward to use. And I’d bought a proper mortar tool from B&Q which was also too wide for many of the gaps between the stones.
We also decided we wanted to expose a section of wall at the top of the stairs (there’s a mysterious curve there and we can’t understand why it was ever built like that) and by the time I’d finished both walls, I’d discovered the best method for the job: fingers. Using a plasterer’s trowel I dolloped the mortar onto a broken piece of hardboard that had come off the floor, and then pinched it, holding the board directly underneath to catch any drips, and pushed it into the gaps between the stone. I used the tip of the metal trowel to smooth it out. The key to success though is spraying the stone surface with water (using an emptied and washed out Mr Muscle bottle) just before you do it.
The look I’ve achieved isn’t perfect; but then if I had wanted perfect I would’ve waited until we could afford for someone to come and do it for us! Considering I’d never done pointing before, I’m quite proud of what I’ve done!
Here’s my eldest daughter dressed up for a Halloween party in front of the newly exposed wall. I think at this point it hadn’t yet been washed because we were still making a lot of dust in the room.

Scary.
By the way, I used Eco mortar type G, £15.40 + VAT for 35kg ordered from www.womersleys.co.uk. I spent ages comparing prices and this place came out the best. They also delivered promptly. Postage was £8.50 and that was for a whole pallet of other stuff as well.

