

Some of you have been following the renovating side of this blog since we moved in eight and a half years ago; so I thought I’d do a quick update of a couple of the smaller jobs that we’ve done recently.
The first clue that there was an old fireplace in our bedroom was the hearthstone that we found when lifting up the beige carpet to reveal the Georgian floorboards. The second clue was the obvious difference in sound when knocking on the wall. The third clue was the whacking great hole behind the plaster when we hit it with a hammer….
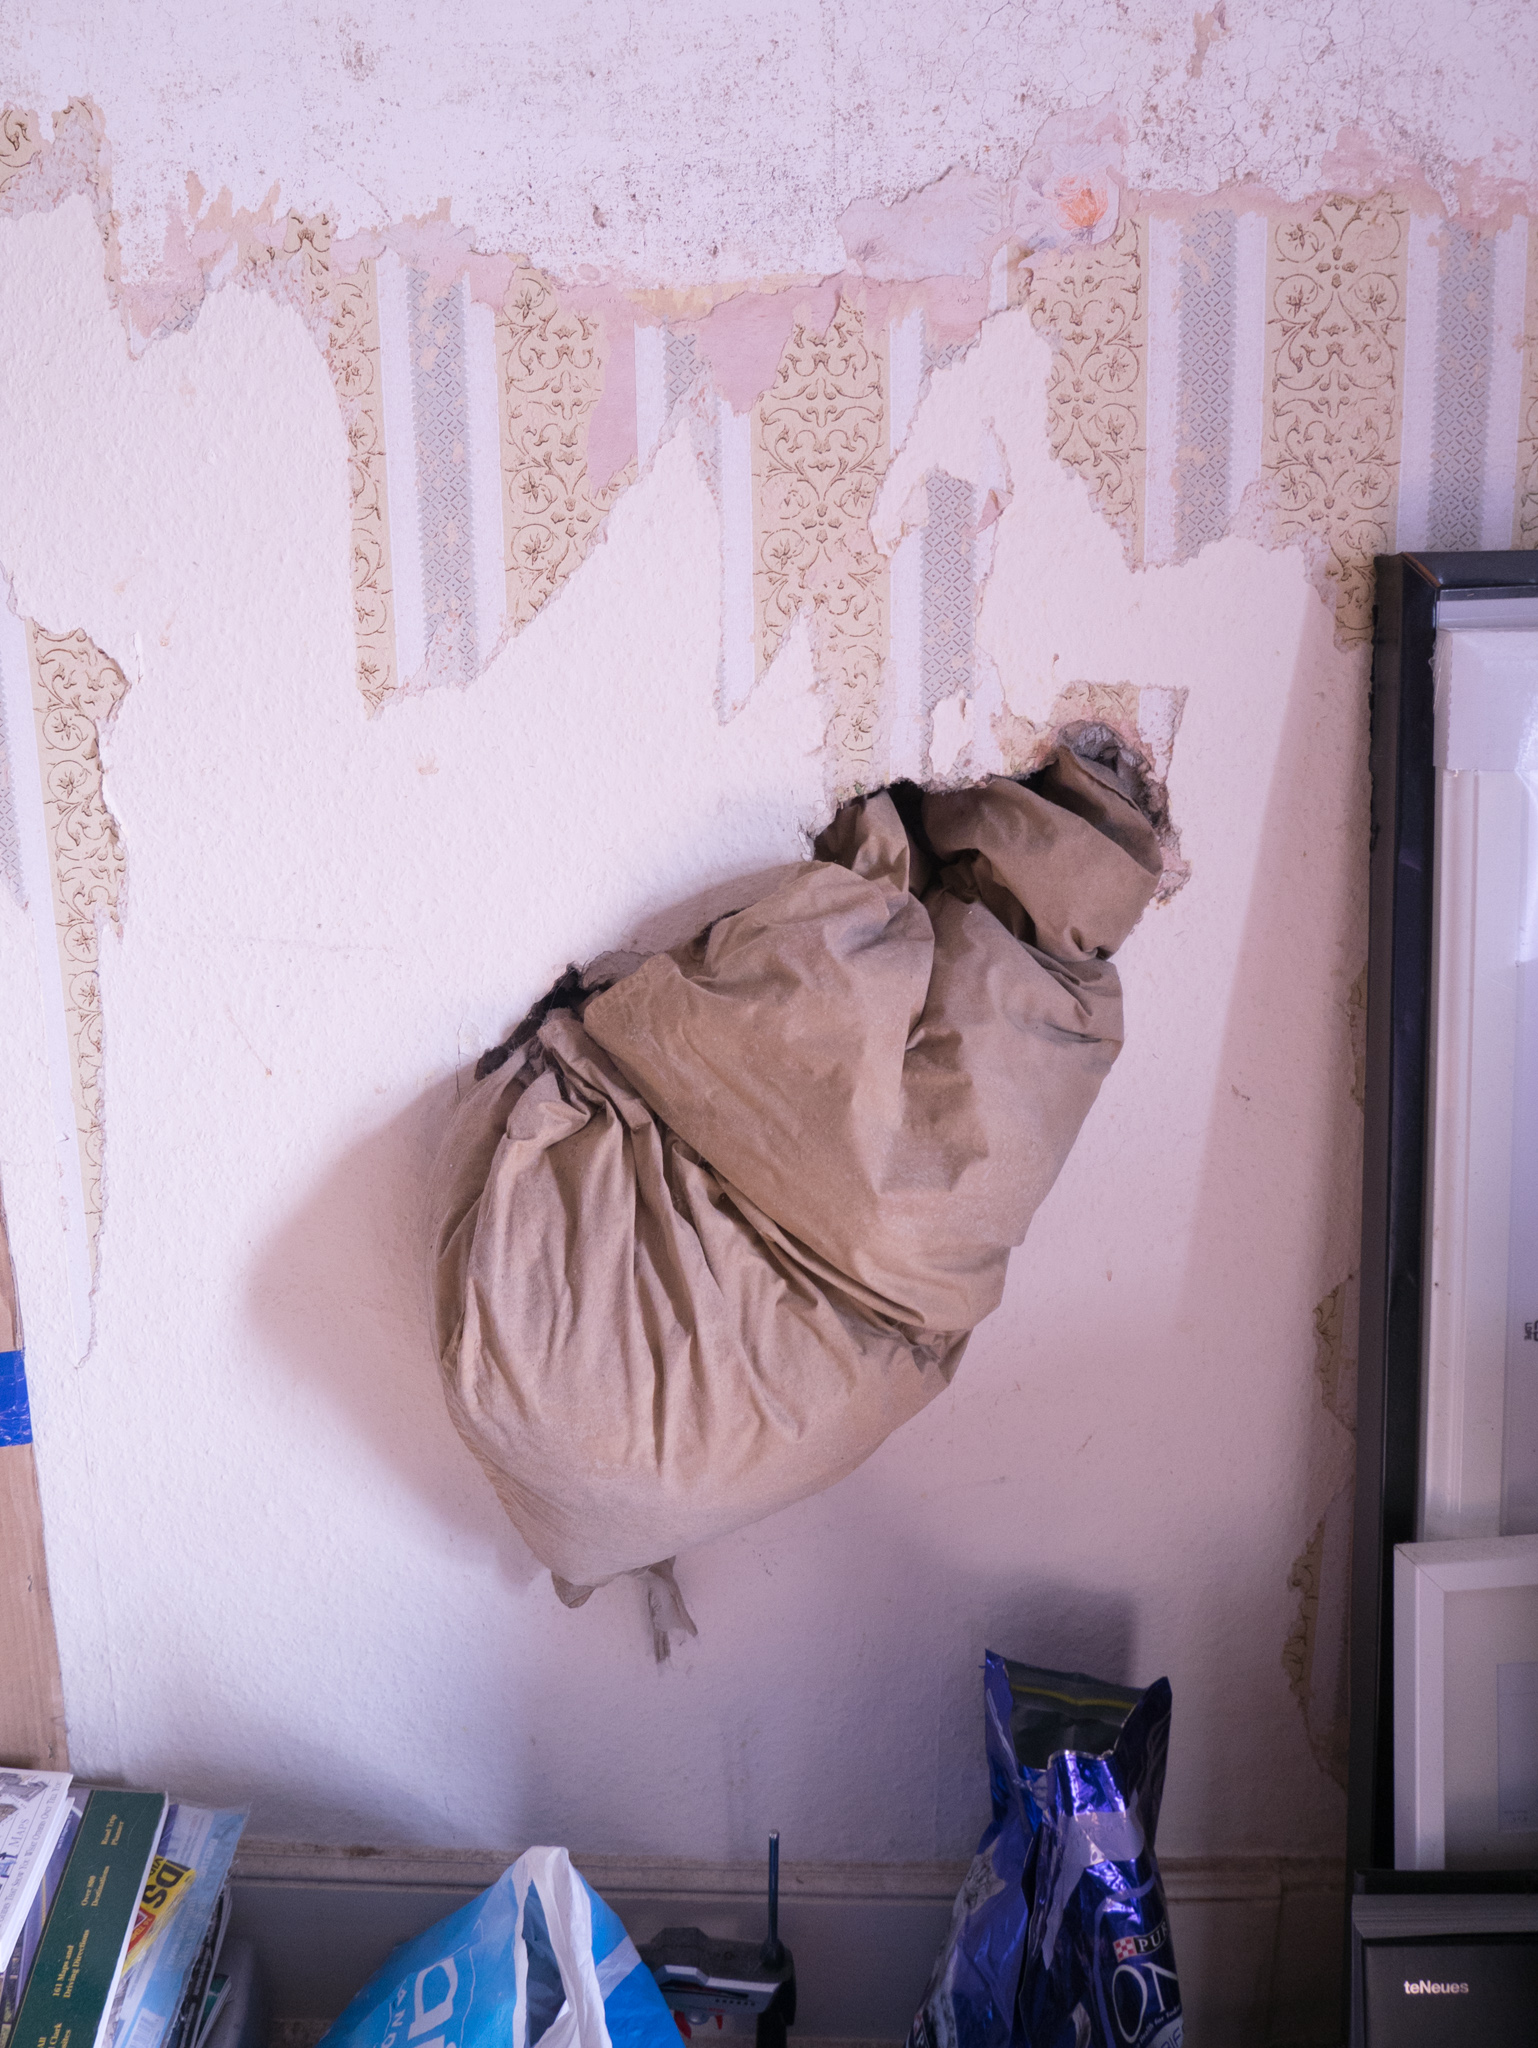
Hole with a pillow in it – like you do.
When we bought the house, we knew we had a lot of the old features to discover, and in our enthusiasm, within a few weeks of moving
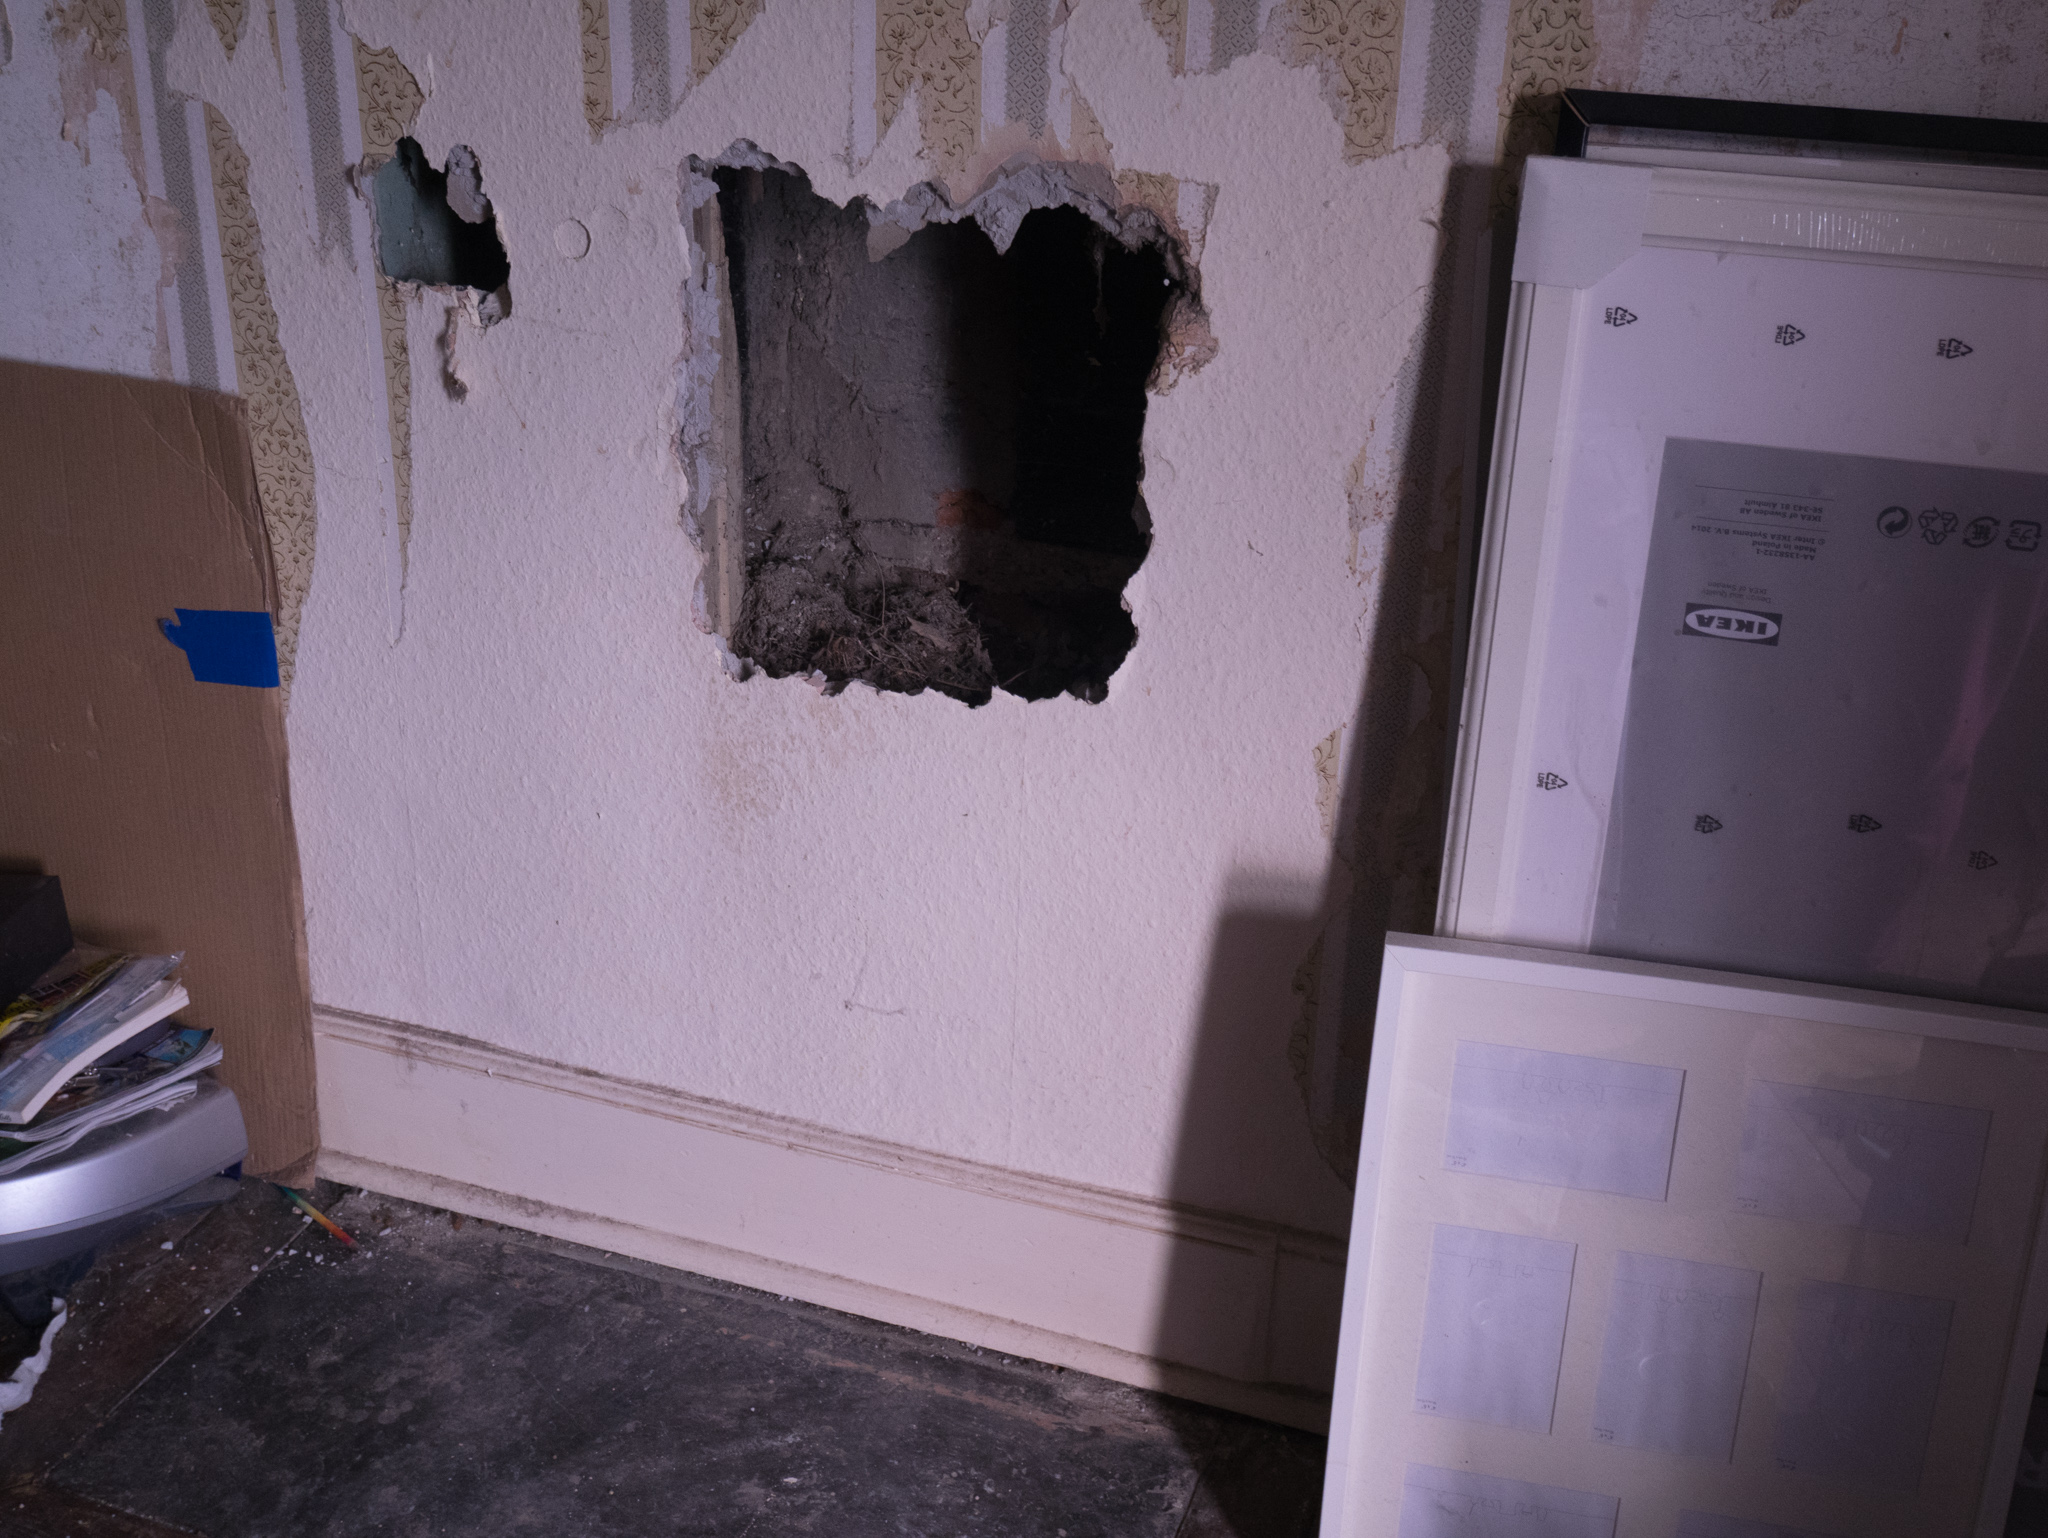
Hole in the wall! (already widened a bit.)
in, we bashed a hole in the wall to take a peak at the fireplace behind. Since then, we’ve had an old pillow stuffed in the hole to prevent drafts coming down and the cat going up. It was always a project for another day. Then recently Chris thought it was time we put some effort into the bedroom, rather than always concentrating on the public rooms of the house. So we made the headboard first, and then made a temporary hanging space for his clothes in the alcove next to the fireplace. (One day we’ll find a wardrobe that fits.) Then we suddenly found ourselves lugging heavy duty Tesco bags-for-life full of stone and rubble downstairs and piled up in a corner of the driveway. I really burned my calories off that day!
It’s a fairly tall and narrow fireplace that had been made smaller in its later life. There were no grand grates or firebacks or
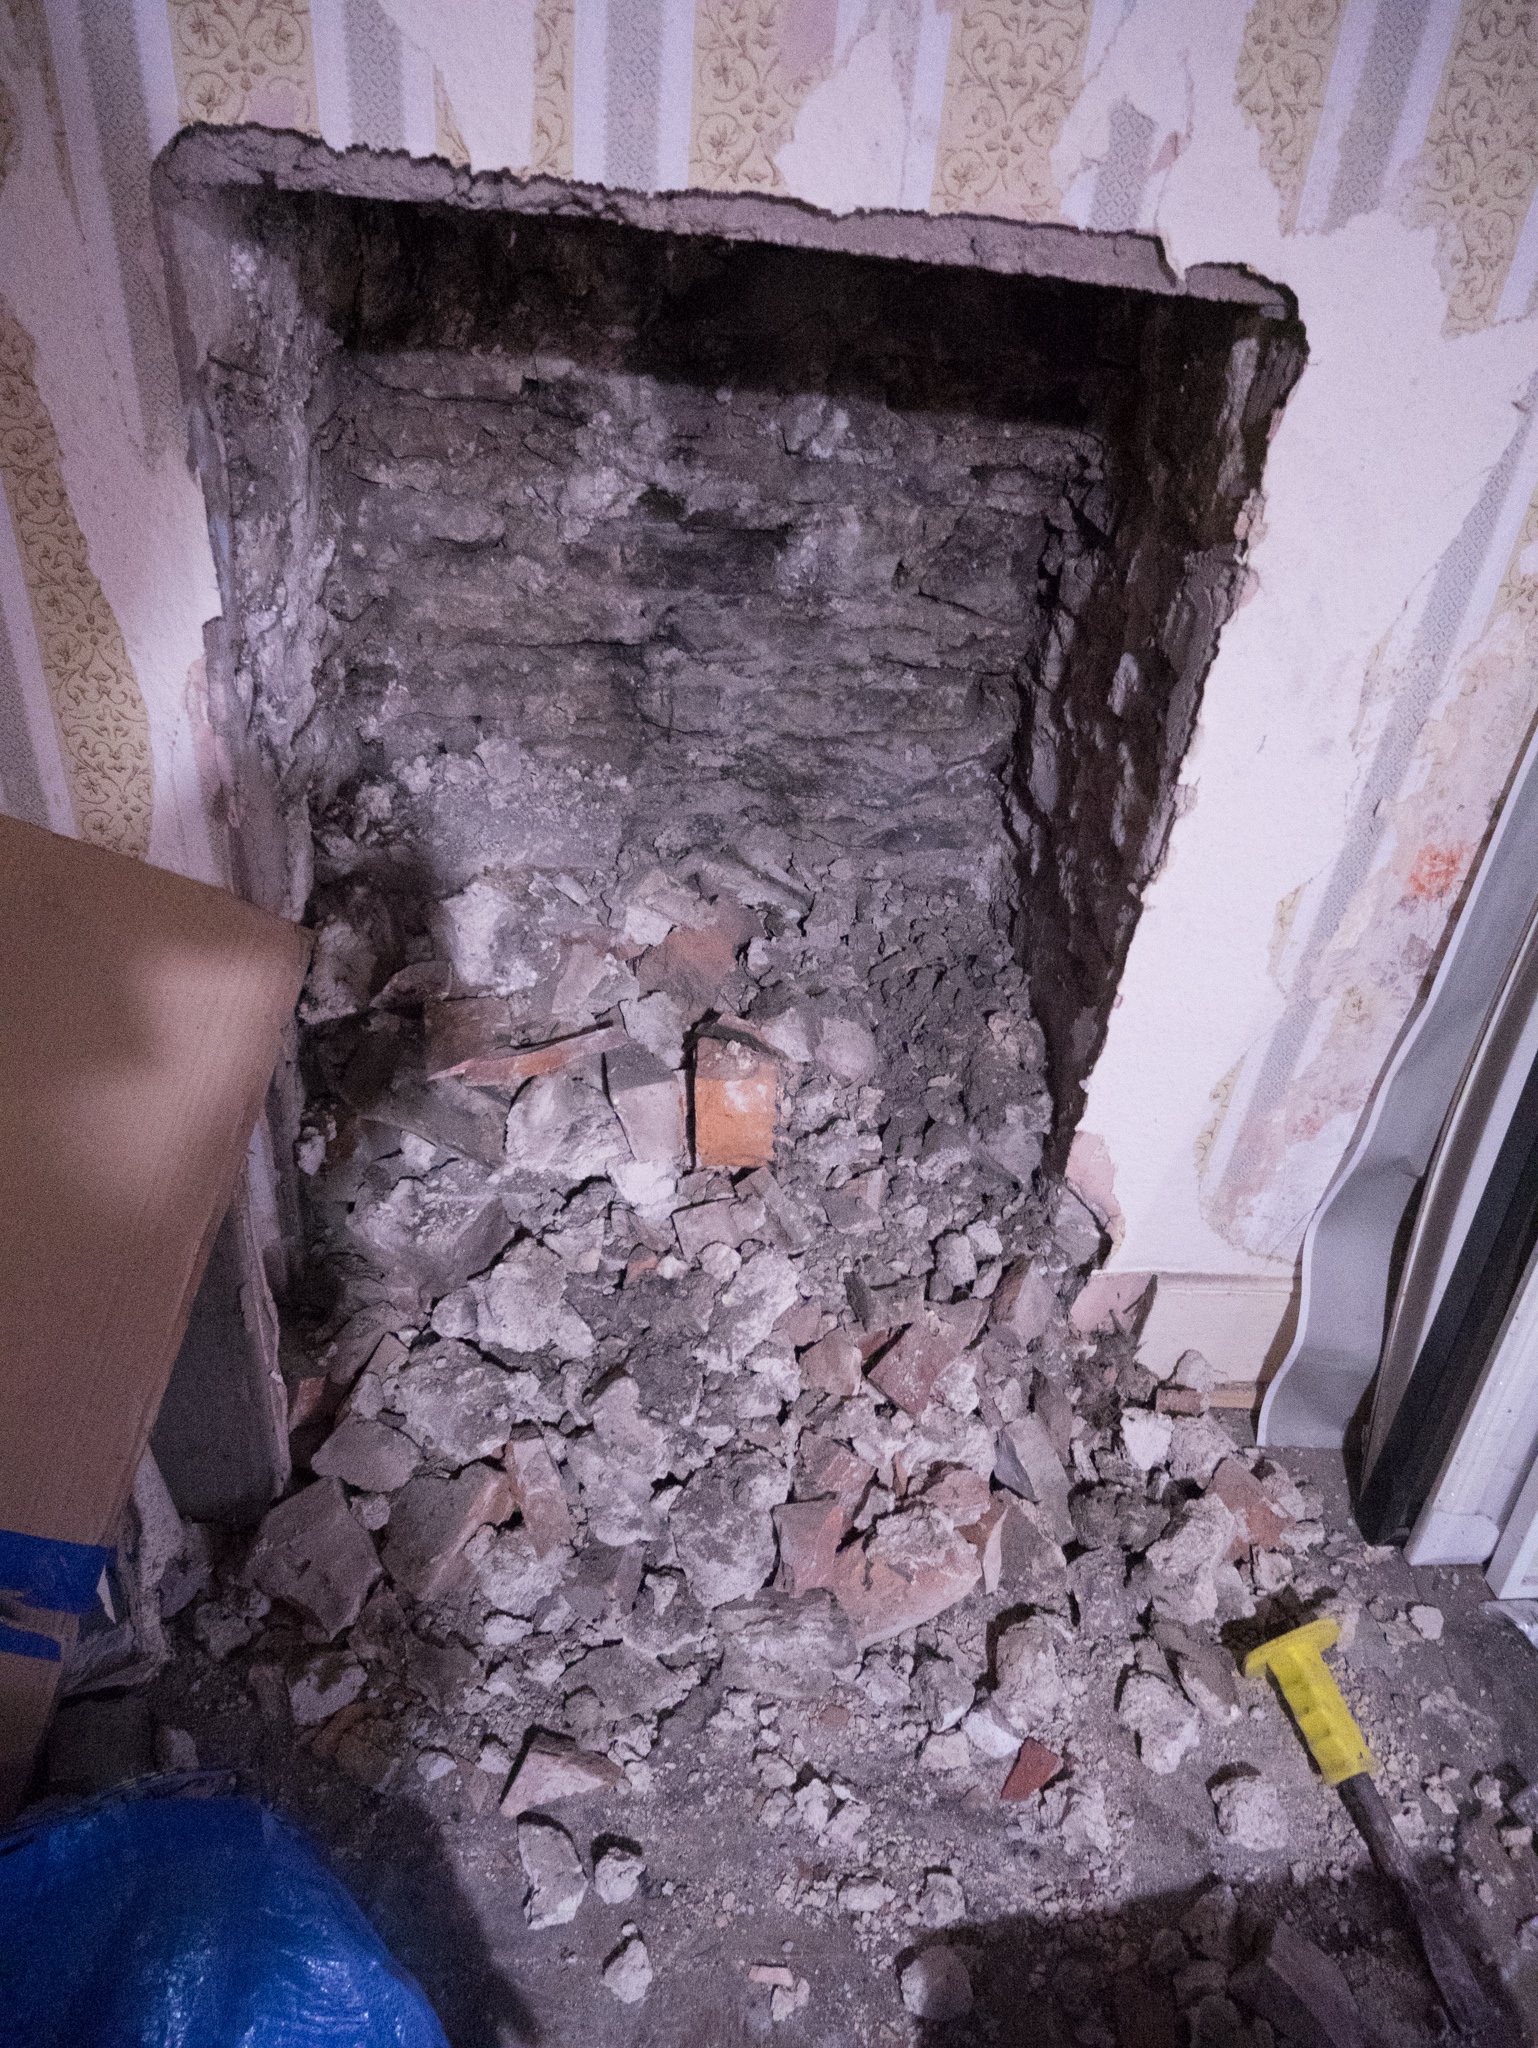
A small bit of rubble – exposing a fireplace
weird things to be found sadly. (In the fireplace in the living room we found a bunch of artificial blue flowers at the back of the chimney.) We’d deliberated whether to put in a wood-burning stove. It would have been really easy to do, but we decided we just aren’t in the bedroom for long enough (awake) to justify the effort. We’d have to remember to come upstairs and light it at least an hour before coming up, and check on it at least once to make sure it was burning well. Too much faff!
So we blocked up the chimney with a piece of wood and filled the gaps with expanding foam. This worked really well – there are no drafts or wind noise now. I’m really pleased with how it looks too – it really brings more character into the room. The next to step is to make a fire surround to cover up the tatty edges of the plaster that remain, and give us a mantlepiece to put pretty candles on!
The heat from the Rayburn doesn’t reach the bedrooms very well, so at the moment we have an oil-fired radiator on a timer. We’re probably going to replace that with an electric fake stove and put it into the fireplace to finish. We’re busy reading reviews of them at the moment, so if you have any recommendations – particularly if you know of one that’s quiet – then please let me know.
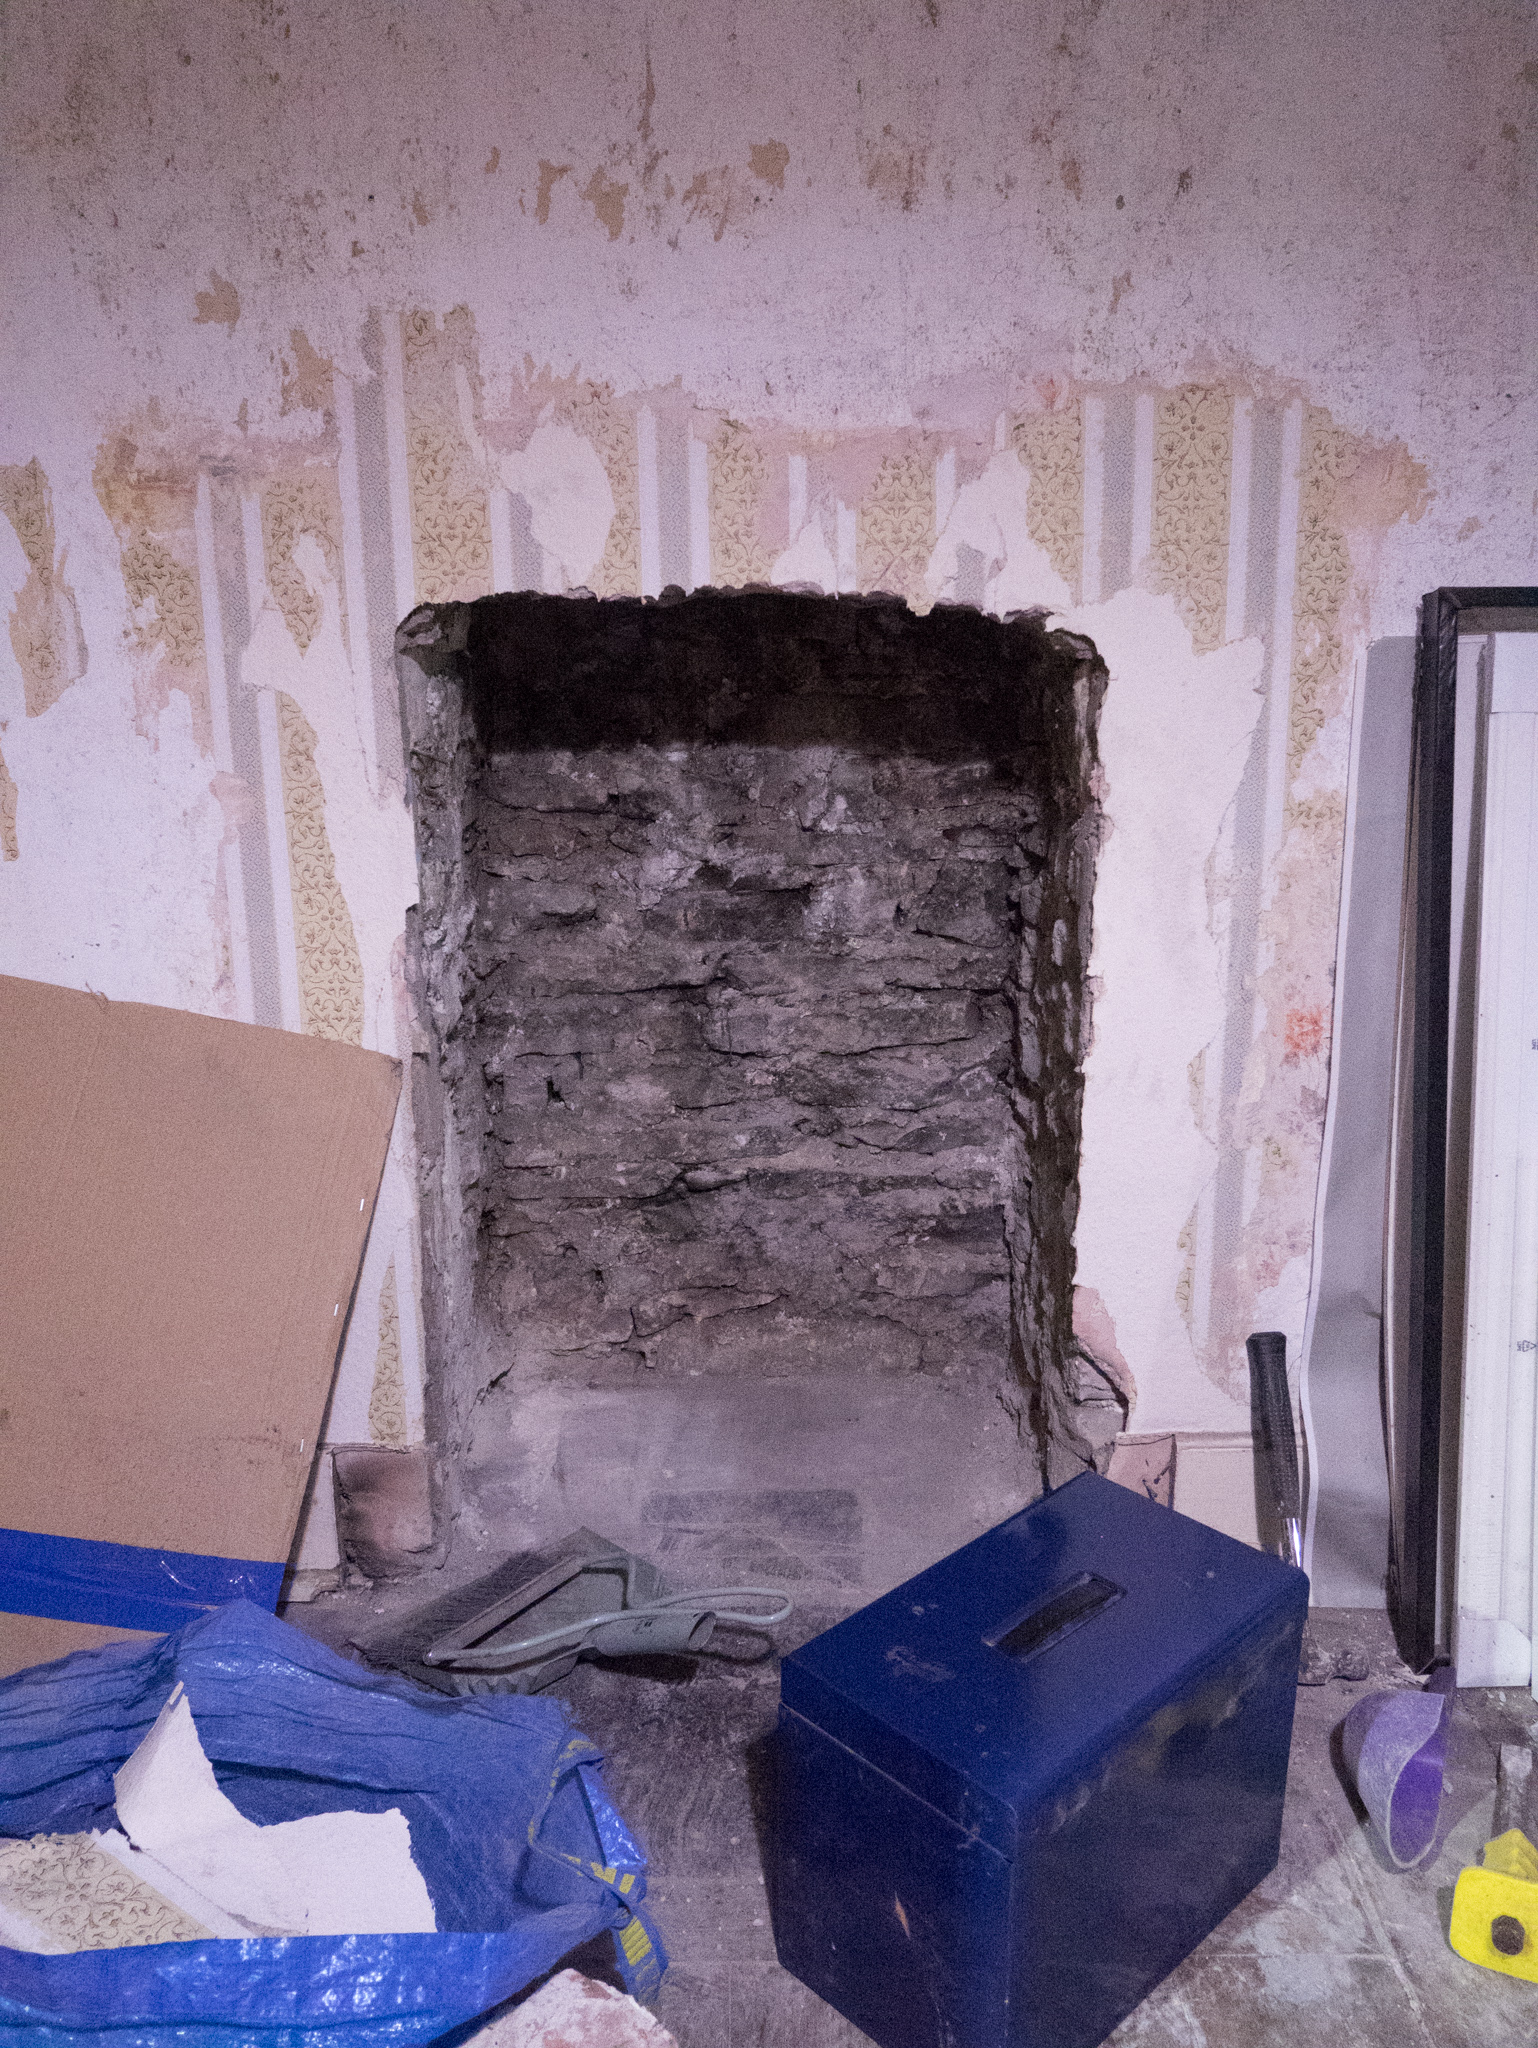
Finished exposing the fireplace.
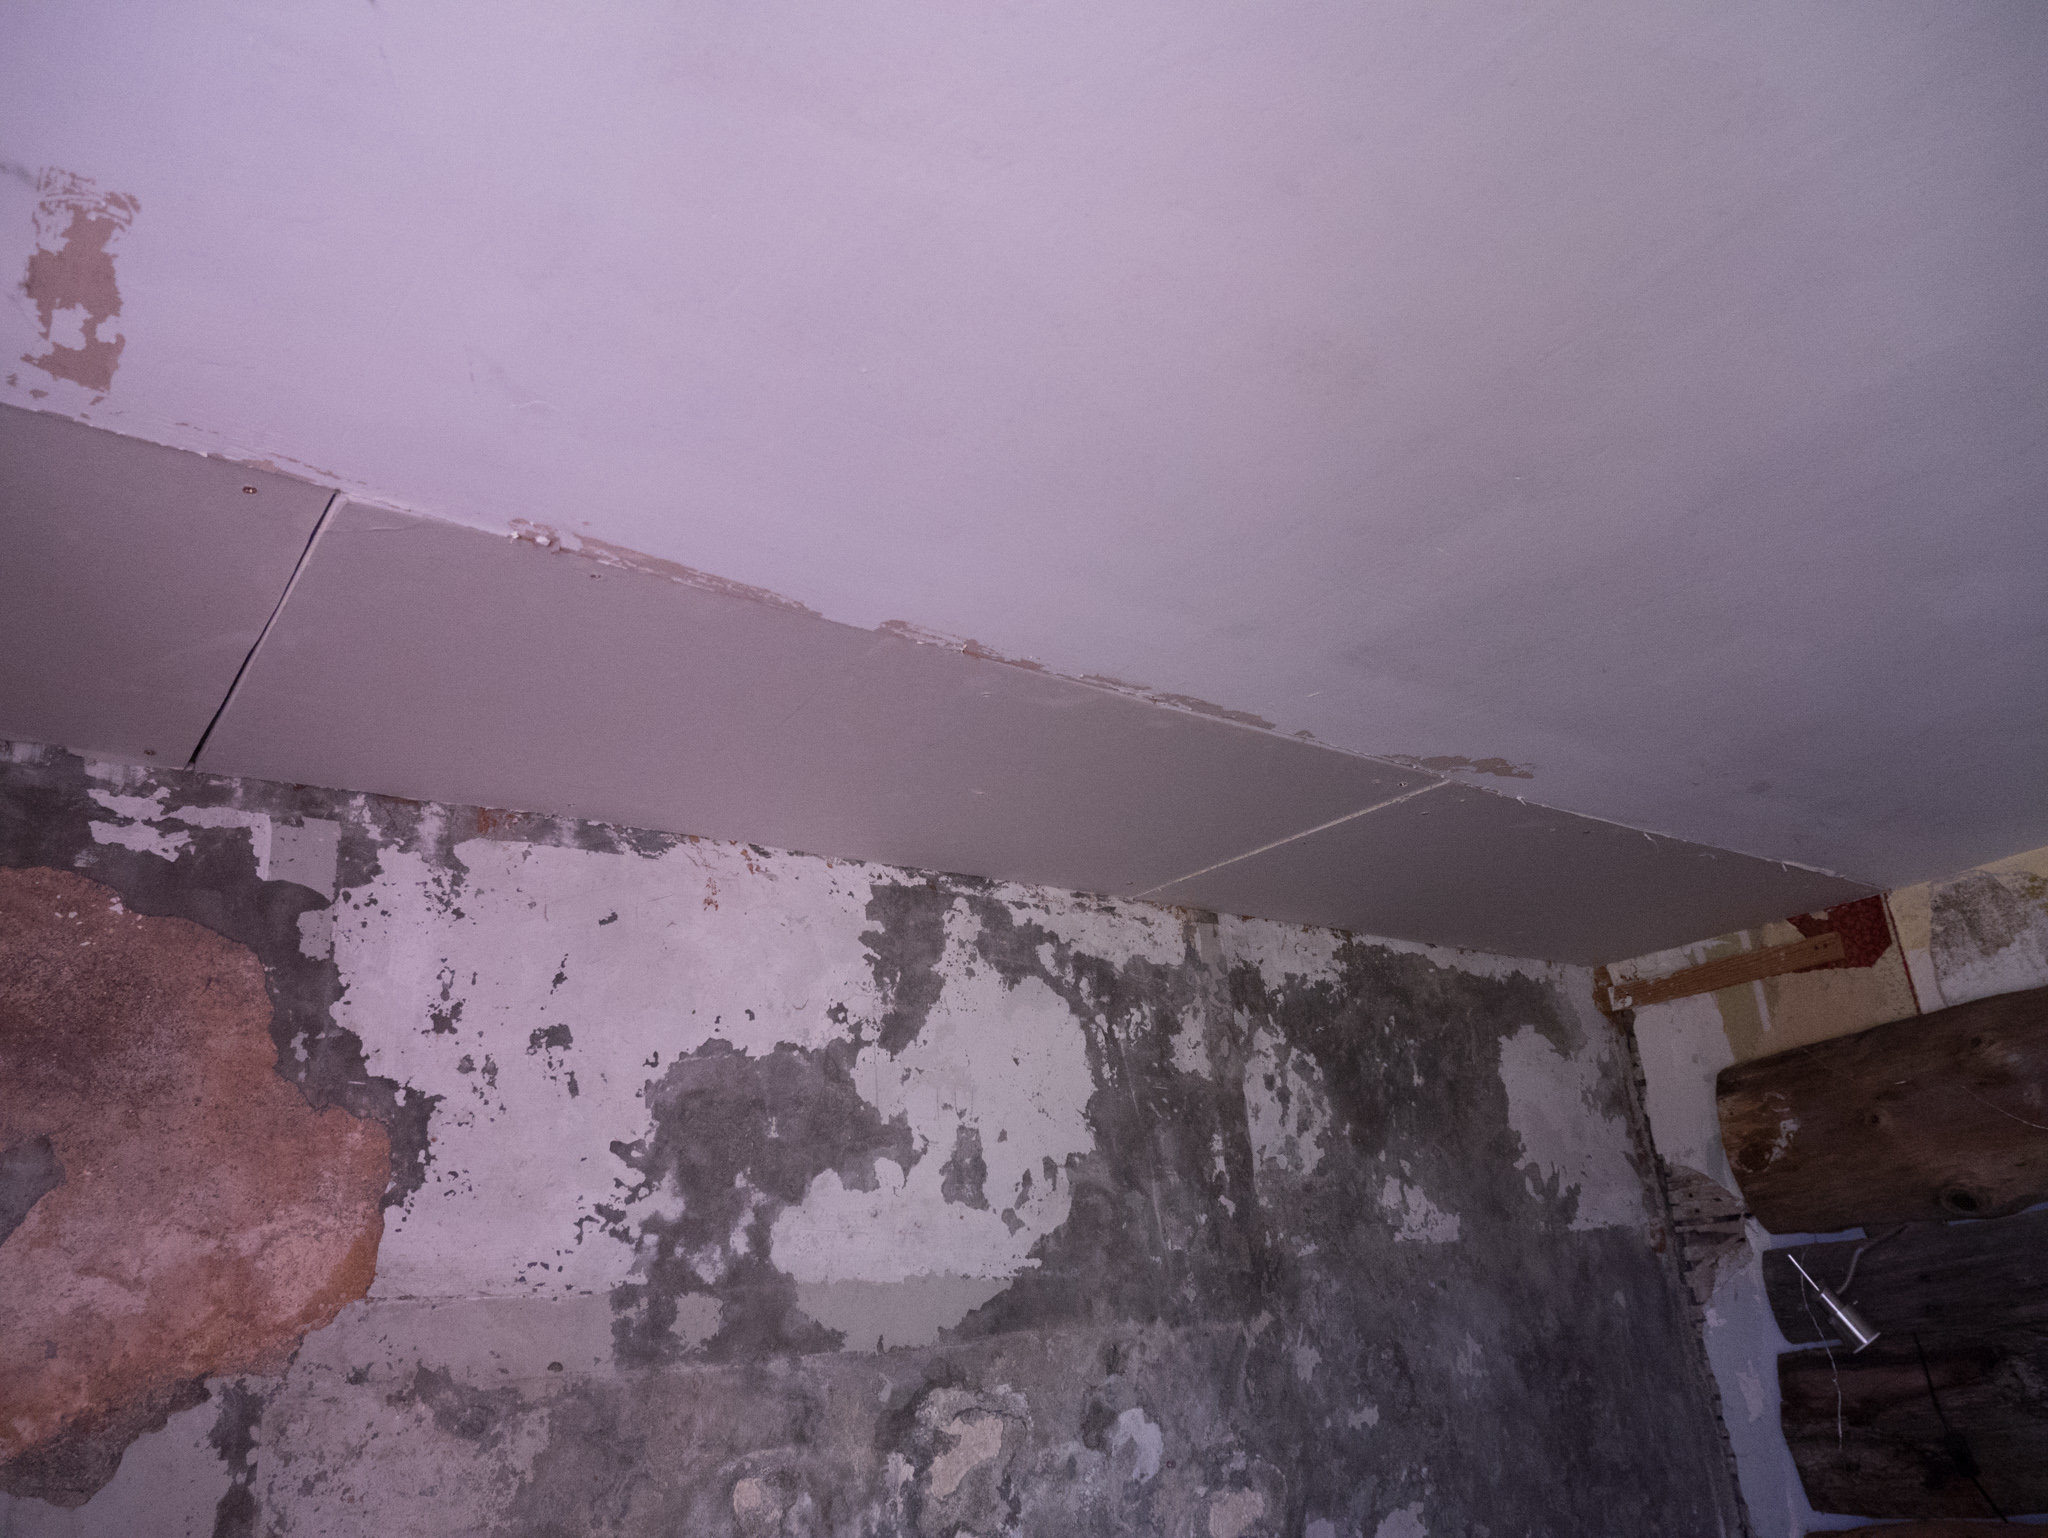
Plasterboarded celing
The next thing we did was plasterboard the end of the ceiling. (By ‘we’ I mean Chris.) It transpired that the bedroom ceiling had been plastered after the built-in wardrobes were made in the ’60s. So when we took that out, we were left with the old ceiling, and a rather large hole to the roof space. Chris said that this was the worst of all the jobs we’ve done in the house. Being so old, none of the walls are straight, the angles aren’t the same and of course you have the agony of holding something heavy above your head for long periods of time. It was one of those occasions when I just stayed out his way.
The drafts coming down are now much less, but the biggest difference is the noise. Considering the gales we’ve been having, I’m amazed at how quiet it is now. There’s no swirling of air or banging of the pieces of hardboard used as a risky flooring up there. The next job there is to tape up the plasterboard joins and paint the whole ceiling to match. I might look into getting that thick paint that goes on a bit like artex but less naff.
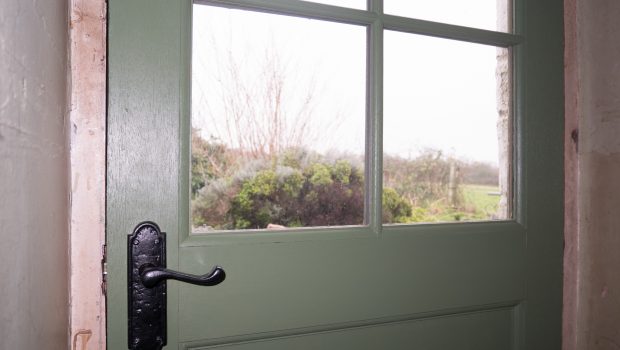
So, another job that really needed to be done before winter set in, was replace the back door. We didn’t quite manage it – it
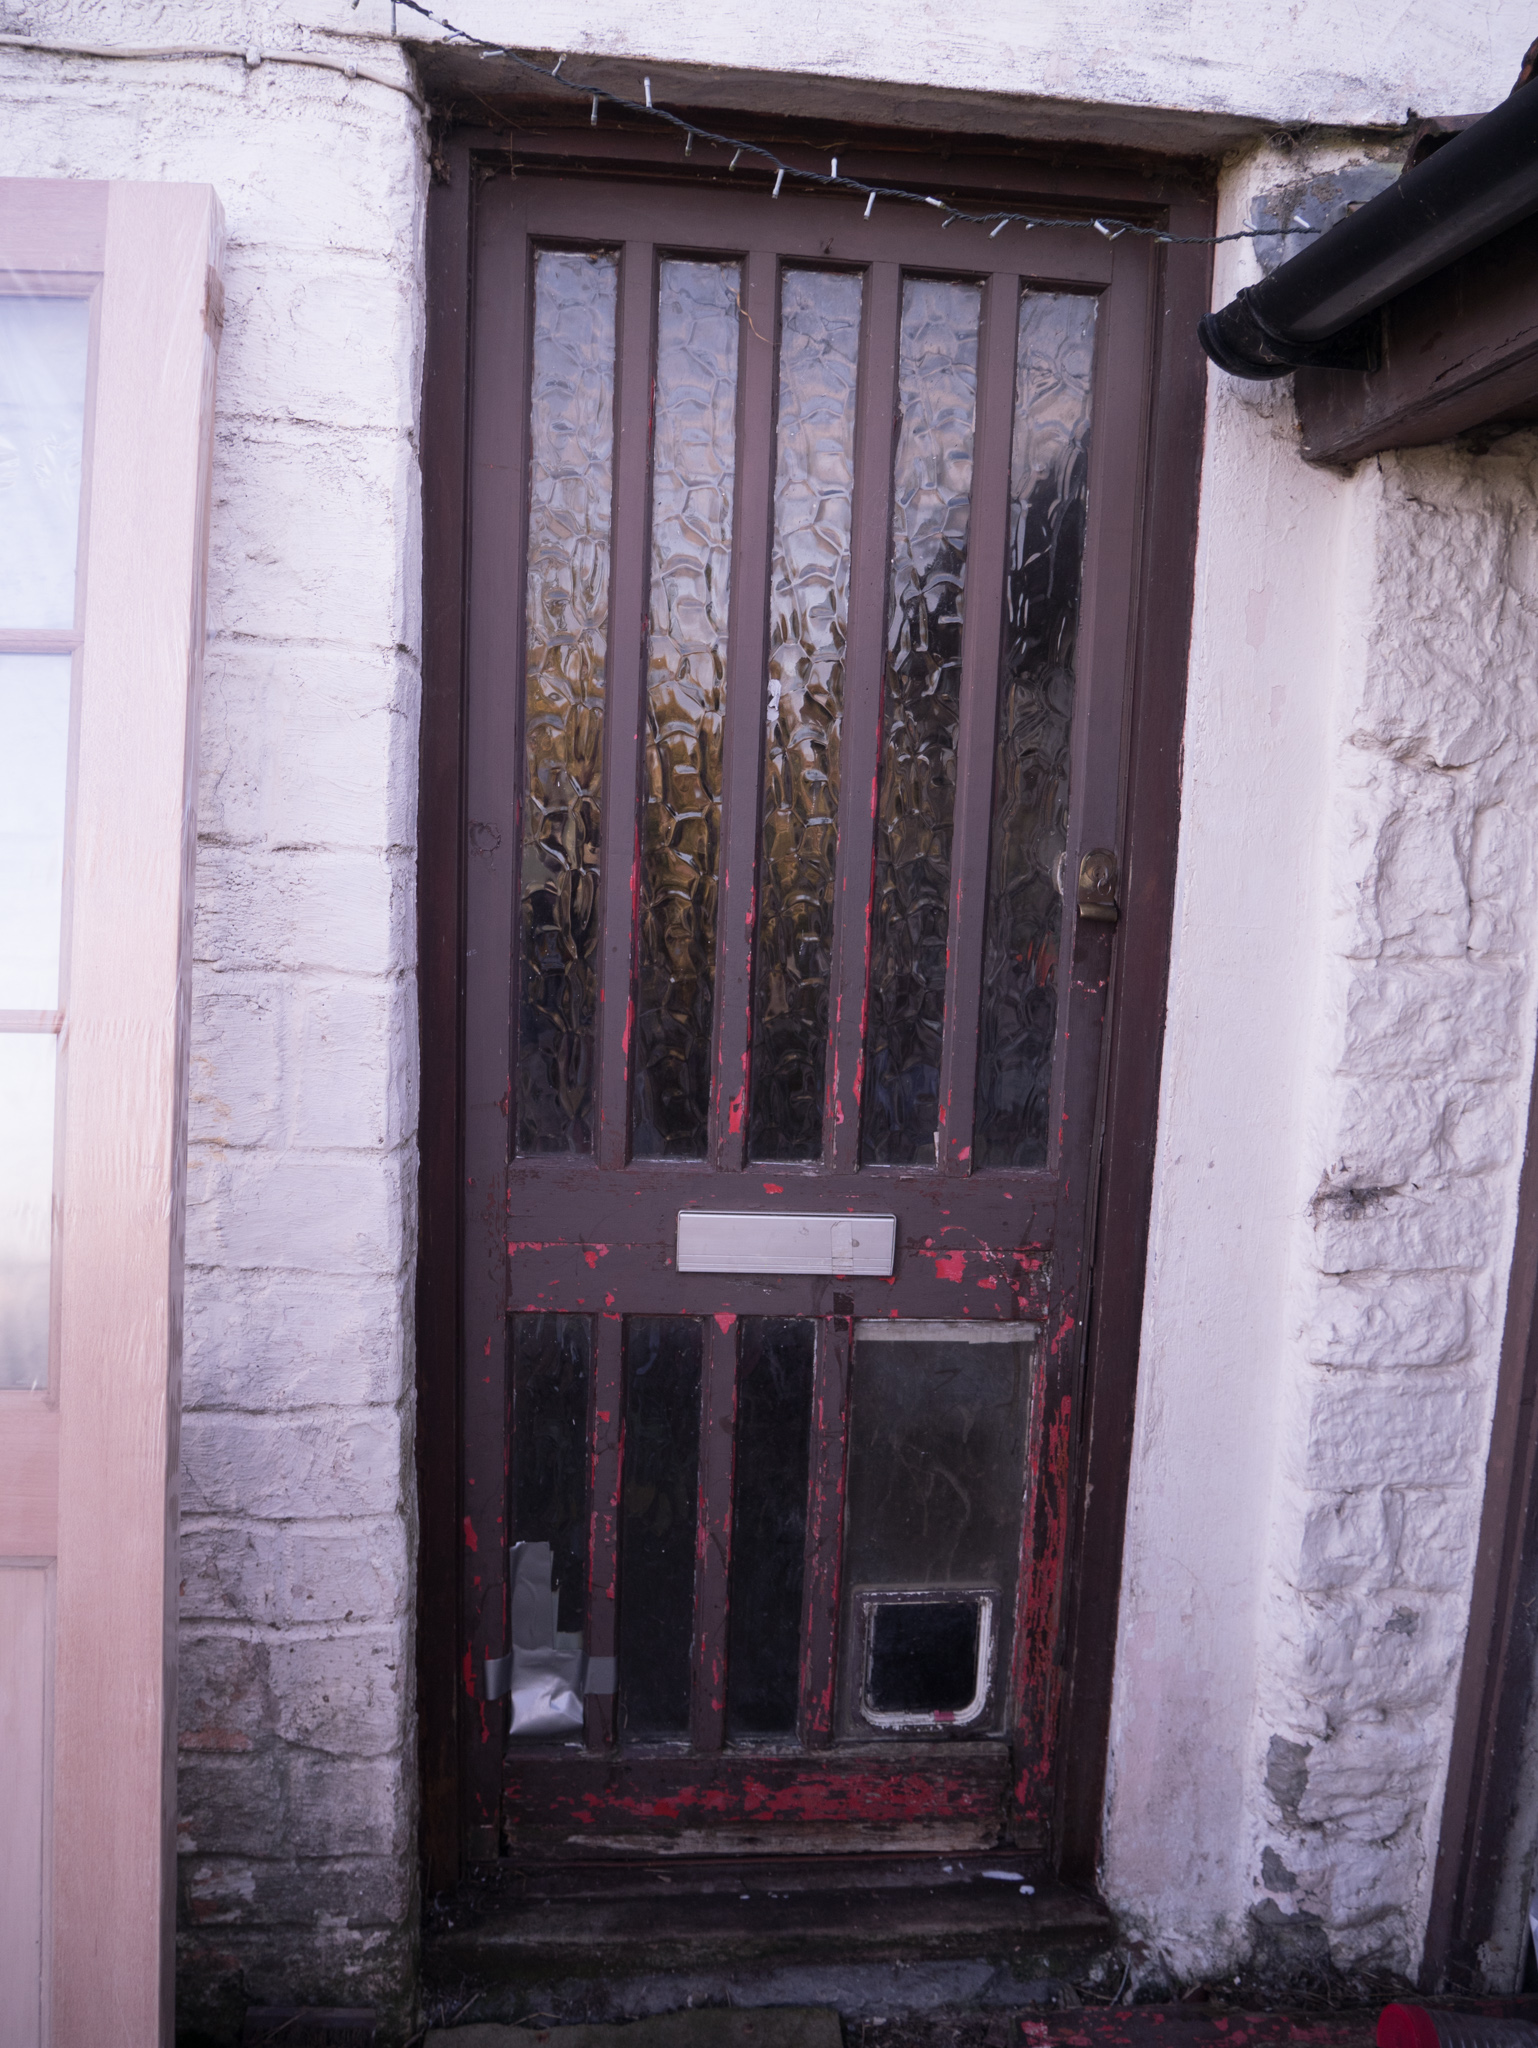
The old back door.
was freeeeezing the day we had no door on, and even more freeeeezing when I was standing outside painting it. We found a new door in the right size on ebay. I wanted one with clear glazing as there aren’t many rooms in the house that look out to the garden at the

The old door helt together with duct tape.
side, but had to be solid at the bottom for the future cat-flap we plan on putting in later. We laid it side by side the door that came out and it appeared to be exactly the same, but it turned out not to be. For some reason, when the previous owners built the extension in the ’80s, they decided to built a slightly unconventional size door-frame. So what appeared to be a fairly straight-forward job, also turned out not to be. Chris ended up having to plane the side until it was just right. Since then, of course, the wood has swollen a bit and needed planing a bit more.
We chose an American-style lock, as it makes more sense than the usual British ones as it means you can’t lock yourself out. We go in and out that door all day long and it’s important to keep it shut so that the cats don’t escape. Now we can shut it without needing a key to get back in. It took longer than I expected to paint the door due to all the minuscule edges round each window pane, but I love the colour. I hadn’t really thought about it in advance, so we just went with what I had already that I’d bought to paint the skirting board in the kitchen. It’s called Calke Green from Farrow and Ball. The kids don’t like it, but I do – it feels very National Trust, and I like that it blends in with the field when you’re looking through from inside.

The new door – though now a bit scuffed after Christmas.
So there we are – apart from our endless sorting and tidying for Christmas, that’s what we’ve been up to. Have you got a renovation project on the go?

